Rieju & GasGas Legacy Riders Club Forum  

Go Back   Rieju & GasGas Legacy Riders Club Forum > GasGas Enduro Technical Forums > Enduro Engine - 2 stroke

Enduro Engine - 2 stroke Cylinder, Piston, Tranny, Bearings, Clutch, Pipes & Silencers, etc.


Reply
 
Thread Tools Display Modes
  #51  
Old 05-08-2016, 04:44 PM
RockefellerGG RockefellerGG is offline
Senior Member
 
Join Date: Mar 2015
Location: Raleigh, NC
Posts: 238
Default

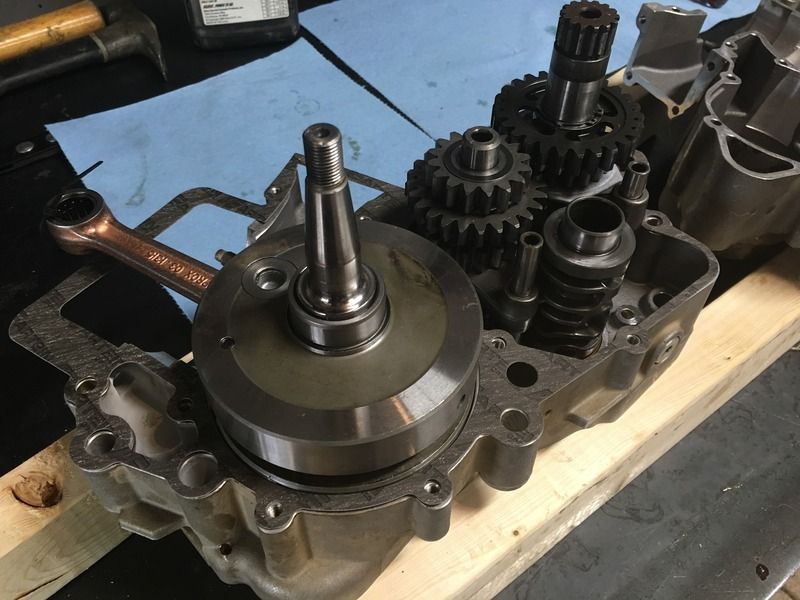
Replace the alignment dowels. The manual tells you to put them in the left side case. Not sure it matters.


Place the gasket on the engine case:


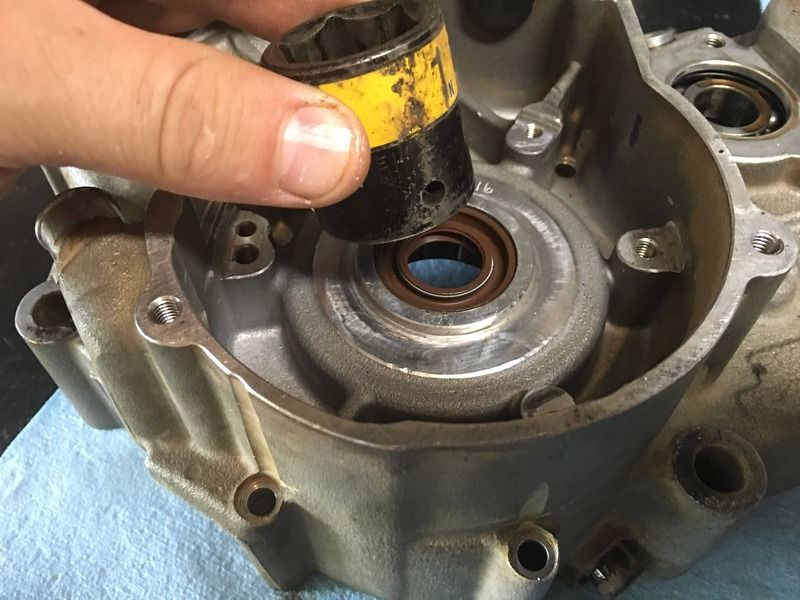
Time to replace the other crank seal. The manual says to position it with the lip facing out. I used a 1" socket to carefully get it seated. Be careful not to damage the lip. Others have chimed in with the observation that this seal should probably face with the lip inward. I'll report back if I have any problems with this orientation.


I am waiting on a new primary seal... it hasn't arrived yet. I'll add it later, but this is the logical time to put it in.


Last edited by RockefellerGG; 05-22-2016 at 10:11 PM.
Reply With Quote


  #52  
Old 05-08-2016, 04:49 PM
RockefellerGG RockefellerGG is offline
Senior Member
 
Join Date: Mar 2015
Location: Raleigh, NC
Posts: 238
Default

Place the left side over the right side and carefully align the shafts. Check that the alignment pins and gaskets are all aligned. A gentle tap with the rubber hammer and it all fell into place:

Reply With Quote
  #53  
Old 05-08-2016, 04:50 PM
RockefellerGG RockefellerGG is offline
Senior Member
 
Join Date: Mar 2015
Location: Raleigh, NC
Posts: 238
Default

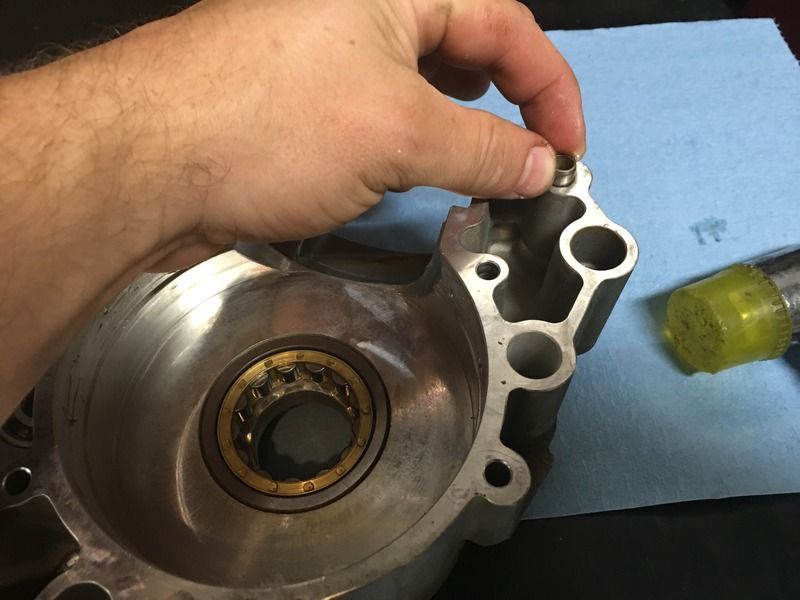
Oops!!! Where was this supposed to go? It looks like an alignment dowel but it is solid. Time to split the cases back open.

Reply With Quote
  #54  
Old 05-08-2016, 06:37 PM
pscook's Avatar
pscook pscook is offline
Platinum Level Site Supporter
 
Join Date: Oct 2011
Location: Shoreline, WA
Posts: 1,164
Default

Quote:
Originally Posted by RockefellerGG View Post
Replace the alignment dowels. The manual tells you to put them in the left side case. Not sure it matters.
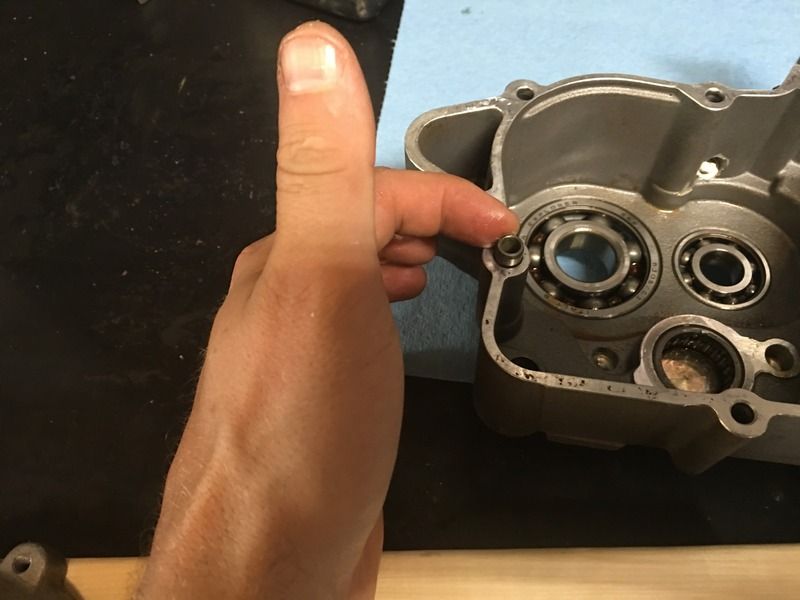
I like to put the alignment dowels in the same side with the gasket, as when I put the gasket on one side and the dowels on the other side, I get the inevitable gasket slide/alignment pin "hole punch" effect. Being careful helps, but sometimes my thumbs outnumber my fingers.
__________________
Phil
(New bike pending...)
Reply With Quote
  #55  
Old 05-08-2016, 07:54 PM
barossi73's Avatar
barossi73 barossi73 is offline
Gold Level Site Supporter
 
Join Date: Jan 2014
Posts: 551
Default

I agree,except when dowels are stubborn and theres a risk of burring them on removal.as long as theres 2 locating gasket im happy.that said a quick buff cleans burrs up quick.great thread
__________________
2013 ec200r
Reply With Quote
  #56  
Old 05-08-2016, 09:23 PM
RockefellerGG RockefellerGG is offline
Senior Member
 
Join Date: Mar 2015
Location: Raleigh, NC
Posts: 238
Default

Anyone know where the solid alignment pin goes? I've looked through all of my pictures and can't determine which one is supposed to be solid.

I assume this is an alignment pin, anyway. I don't recall this part anywhere in my disassembly and do not see it in the parts breakdown.

Last edited by RockefellerGG; 05-08-2016 at 10:17 PM.
Reply With Quote
  #57  
Old 05-09-2016, 09:54 AM
RockefellerGG RockefellerGG is offline
Senior Member
 
Join Date: Mar 2015
Location: Raleigh, NC
Posts: 238
Default

Well, I officially feel like an idiot. This isn't an alignment pin. It was an old crank roller bearing. It must have hit the floor when I was removing them and I picked it up inadvertently.

The alignment pins ARE all hollow. They have to be, since they have a bolt that must go through them.

Last edited by RockefellerGG; 05-09-2016 at 10:55 AM.
Reply With Quote
  #58  
Old 05-09-2016, 11:34 AM
RockefellerGG RockefellerGG is offline
Senior Member
 
Join Date: Mar 2015
Location: Raleigh, NC
Posts: 238
Default

I'll save some time for others, trying to remember which bolt length goes where. Remember to alternate around diagonally when tightening the case bolts. I started in the middle.


Reply With Quote
  #59  
Old 05-09-2016, 12:17 PM
Rick's Avatar
Rick Rick is offline
Senior Member
 
Join Date: Aug 2006
Location: Lodi, Ca
Posts: 1,930
Default

You sir!! Are going a fine job! Really liking this thread! Great detail! Thanks
__________________
Rick
99 EC 200
06 RM 250
AMA D36
375X
OTHG
375S

***Thanks for the support : Twin Air /O'Neil Racing / Race 100% / Matrix Concepts / ODI / Mika Metals
Reply With Quote
  #60  
Old 05-09-2016, 07:03 PM
RockefellerGG RockefellerGG is offline
Senior Member
 
Join Date: Mar 2015
Location: Raleigh, NC
Posts: 238
Default

Trimmed the gasket with a razor blade:


It might be a day or two before the next update. I'm waiting for the primary shaft seal and will be media blasting a number of parts before installing them.
Reply With Quote
Reply


Posting Rules
You may not post new threads
You may not post replies
You may not post attachments
You may not edit your posts

BB code is On
Smilies are On
[IMG] code is On
HTML code is Off


Similar Threads
Thread Thread Starter Forum Replies Last Post
Complete 2002 ec300 rebuild/conversion astout93v General Discussions & Announcements 1 12-07-2014 12:58 PM
S3 Race Custom Modified EC250 Complete Rebuild Jakobi Enduro Engine - 2 stroke 173 06-23-2014 03:12 AM
2011 ec250 engine complete 70hrs roverhybrids Parts 3 01-16-2014 08:20 PM


All times are GMT -5. The time now is 03:35 PM.


Powered by vBulletin® Version 3.8.6
Copyright ©2000 - 2024, Jelsoft Enterprises Ltd.
Copyright 2009 - GasGasRider.org