
 |
|
#61
|
|||
|
|||
|
|
|
#62
|
|||
|
|||
|
Very Nice Job. Thank you for taking the time to do this.
|
|
#63
|
|||
|
|||
|
Re-Assembling this is a lot of the same thing, but in reverse. I took some pictures which may be redundant.
Ignition Reassembly. Line up the marks to put it back close to how it came out. Made sure the rubber seals are nice and tight and back in their homes: 8 Nm Torgue 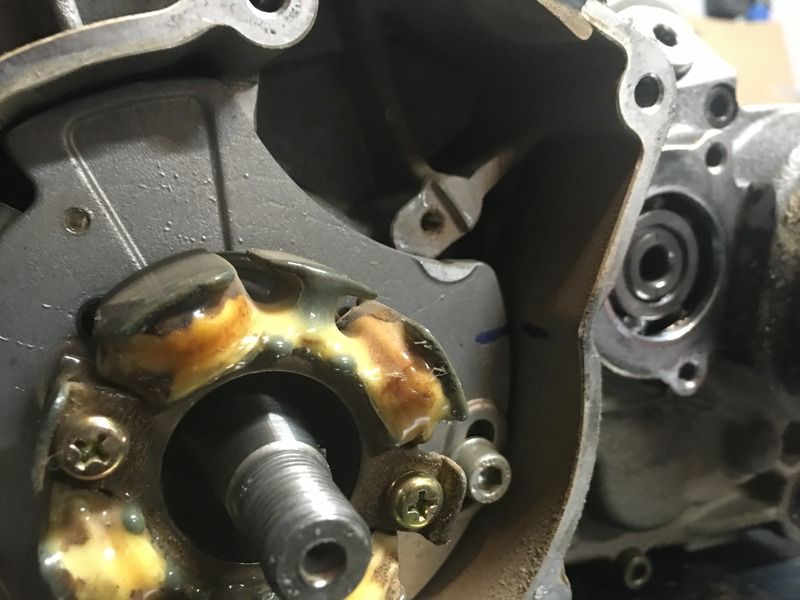 Threadlocker on the crank and 40 Nm on the nut: 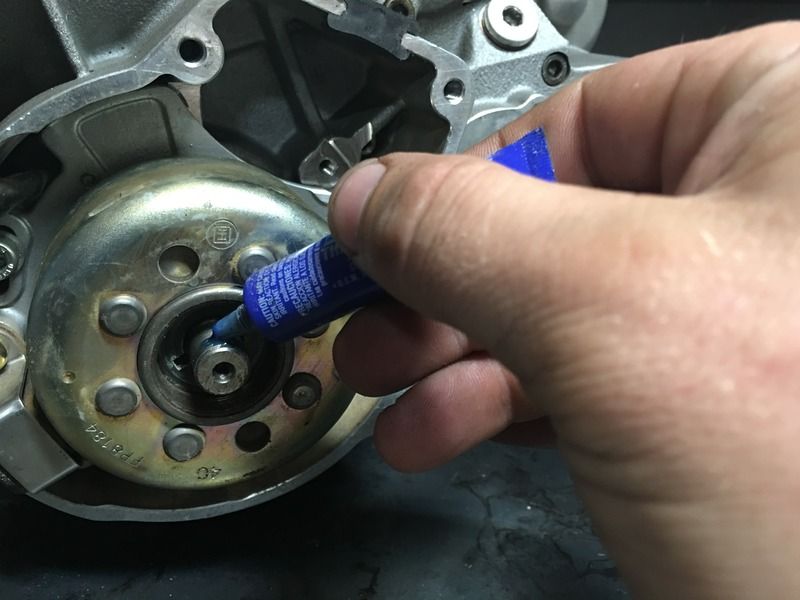 I'm leaving the cover off for now, so that I can use the nut to turn the engine over during squish measurements. |
|
#64
|
|||
|
|||
|
|
|
#65
|
|||
|
|||
|
|
|
#66
|
|||
|
|||
|
BTW - I like to oil the seals when putting them in. Helps them stay in shape and not tear.
|
|
#67
|
|||
|
|||
|
Don't forget the crankshaft o-ring: I forgot this and had to crack the cover back off take it apart and add mine:
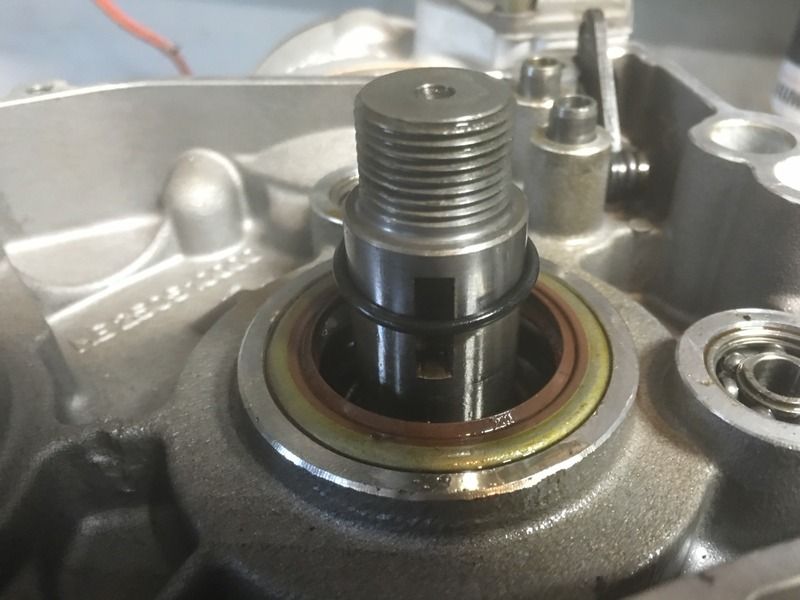 Crank spacer installed carefully so as not to damage the seal. Machined flat side up: 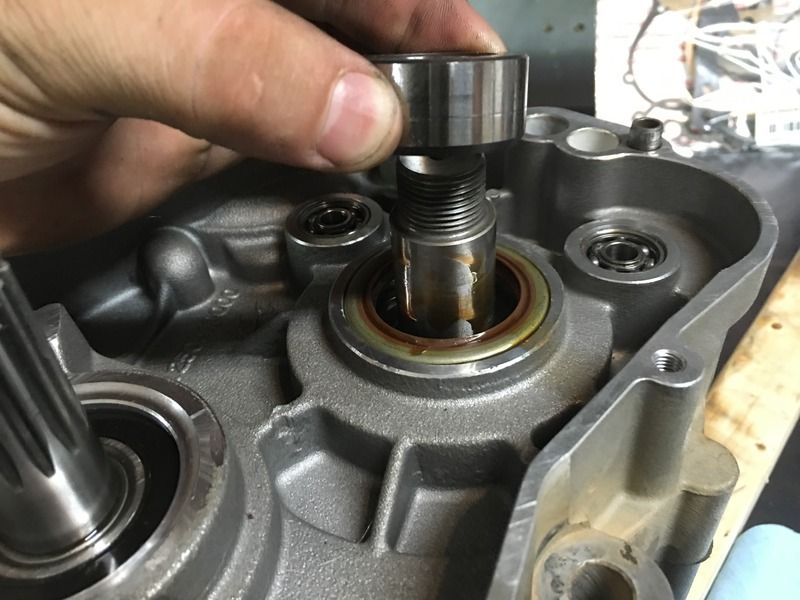 Put the key lock back in: 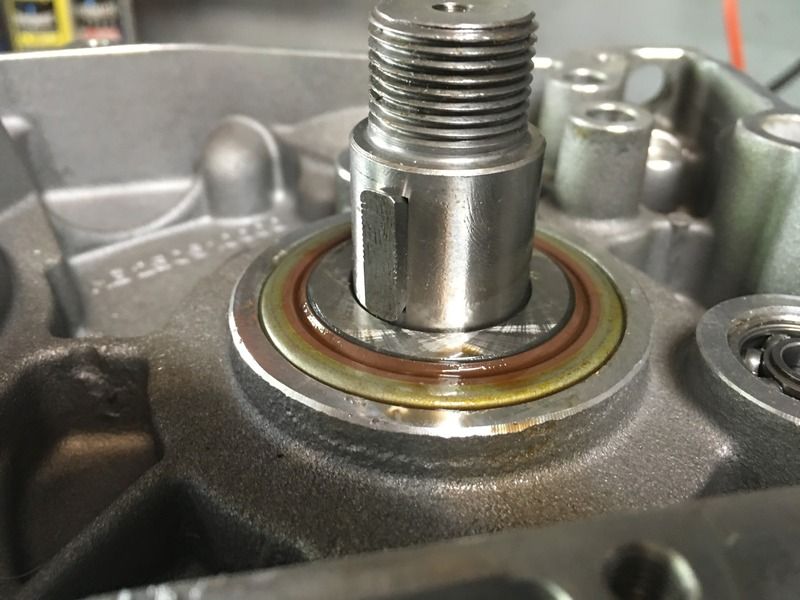 Flywheel: 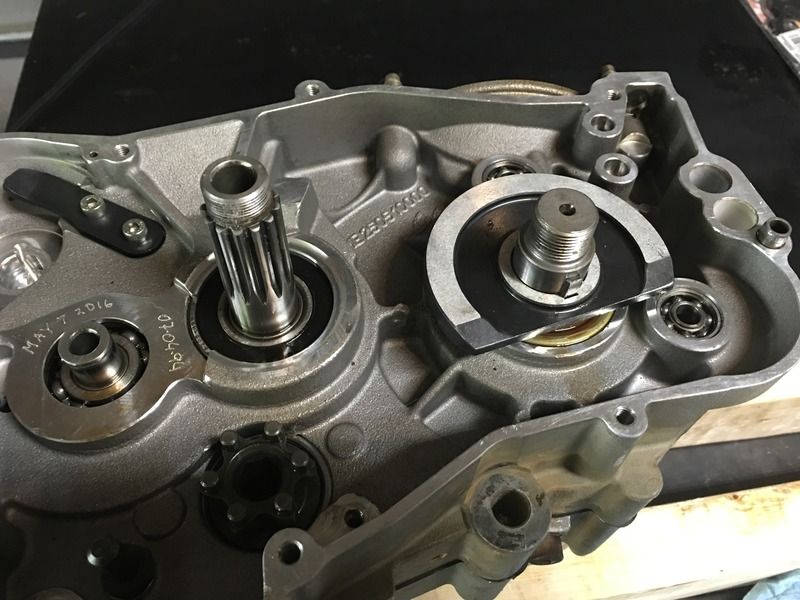 Add the crank gear,washer and nut. I used the rubber side of a pair of needle nose to block the flywheel from turning. This is Lefty-Tighty. 40 Nm: 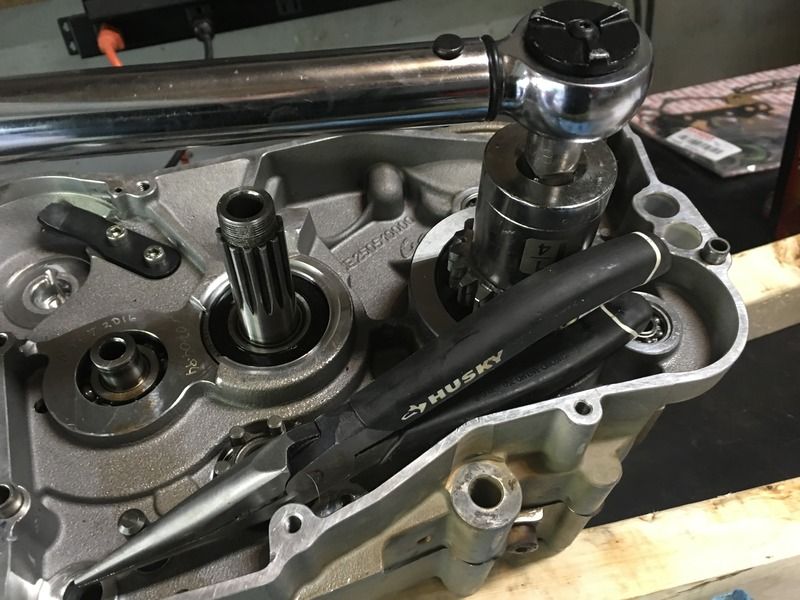
Last edited by RockefellerGG; 05-14-2016 at 02:03 PM. |
|
#68
|
|||
|
|||
|
Install the shift selector. There's a trick to this. 1. Release the tension from the spring, so that the hook is on the left side of the plate. 2. Very loosely install the bolt. 3) Lift the spring hooked side over the plate and hook it over the right side. Then tighten the bolt. 15 Nm
See how the hook is on the left side: 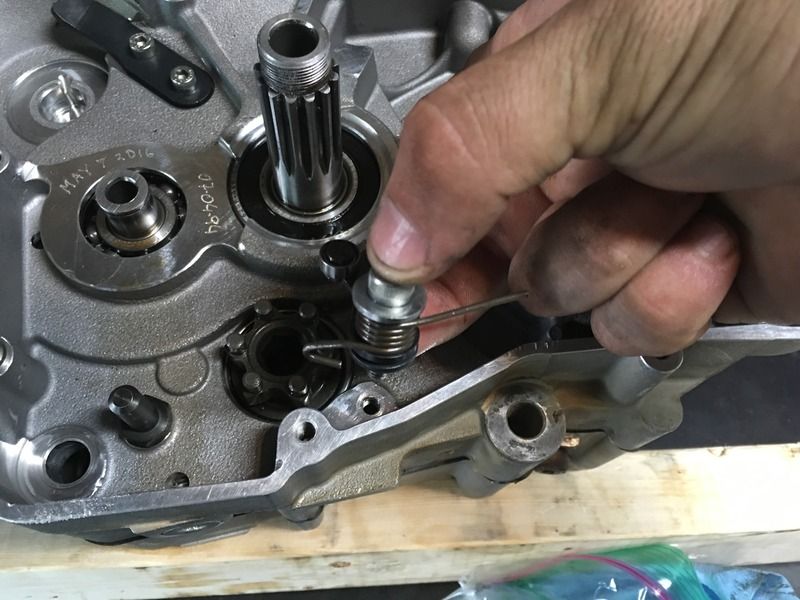 Lift the spring up and over and hook it over the right side: 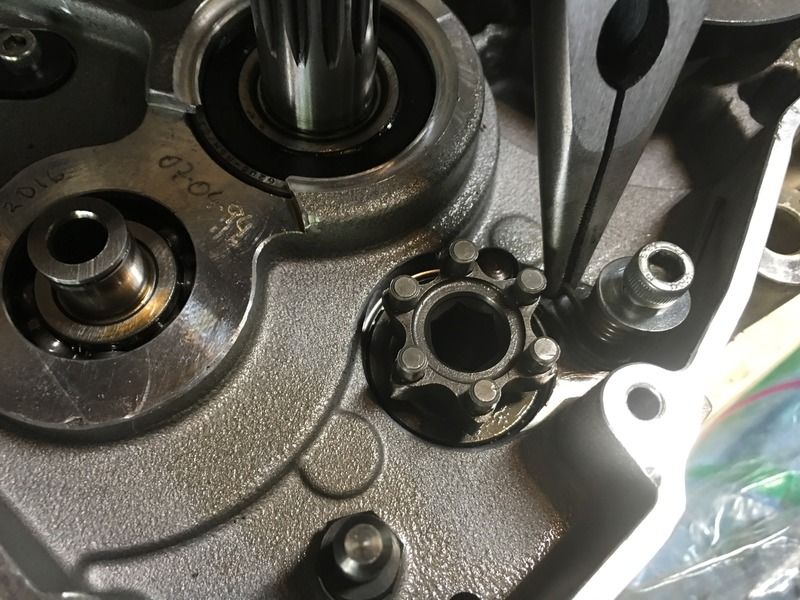 Slide the shift selector shaft back through the engine case. Remember to add the white plastic bushing. Curved side up: 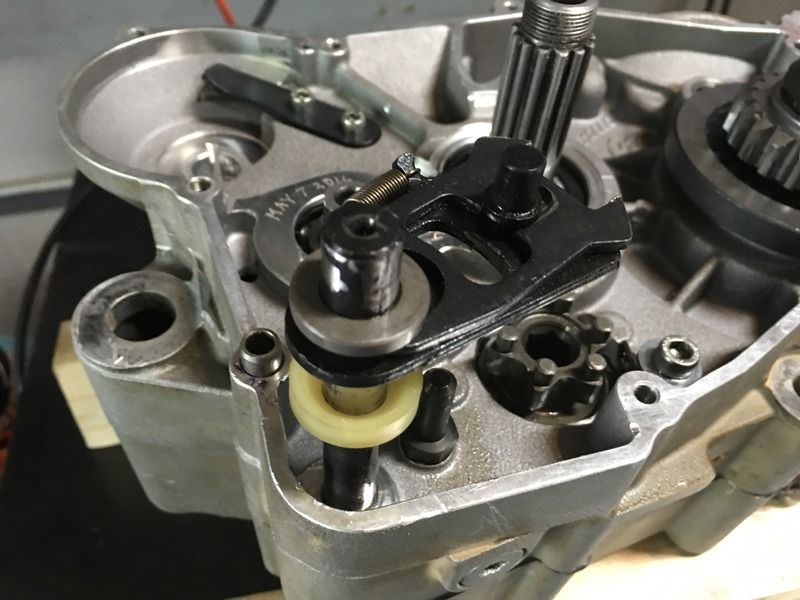 Add the spring: 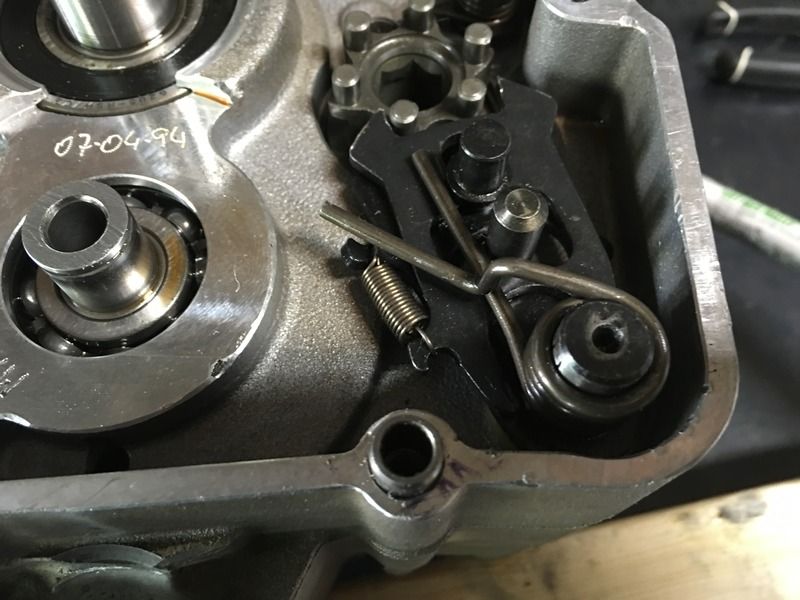 Lift the curved end of the spring up and over the post to pre-load the spring. |
|
#69
|
|||
|
|||
|
Place the starter gears into the case:
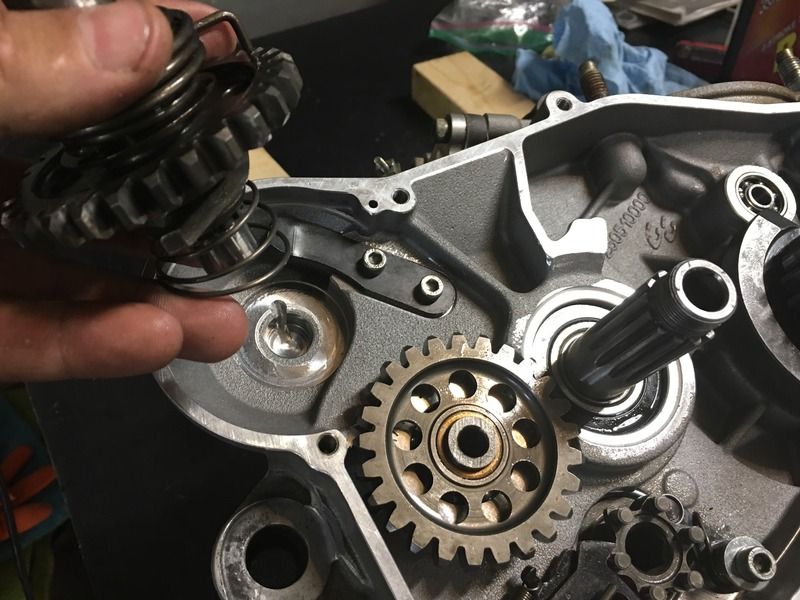 Re-tension the spring by placing the end back into the hole: 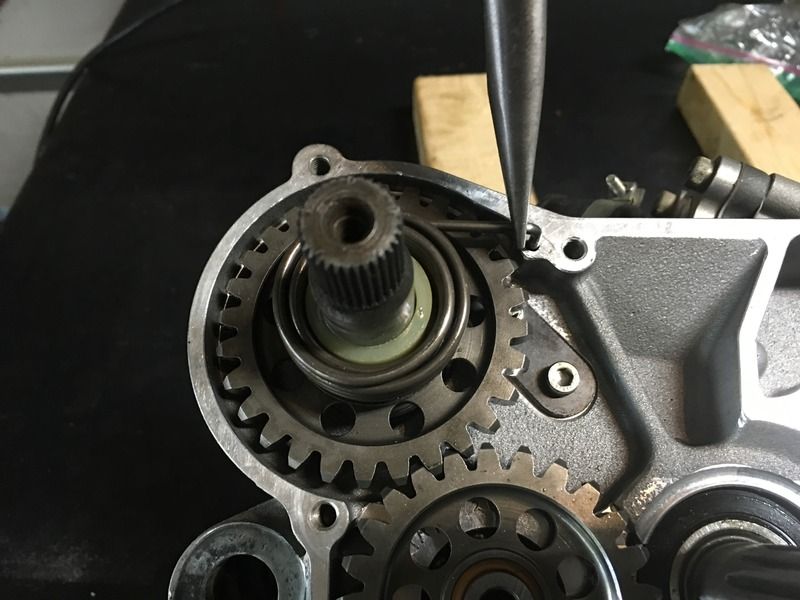 Add the washer and c-clip on the counter gear: 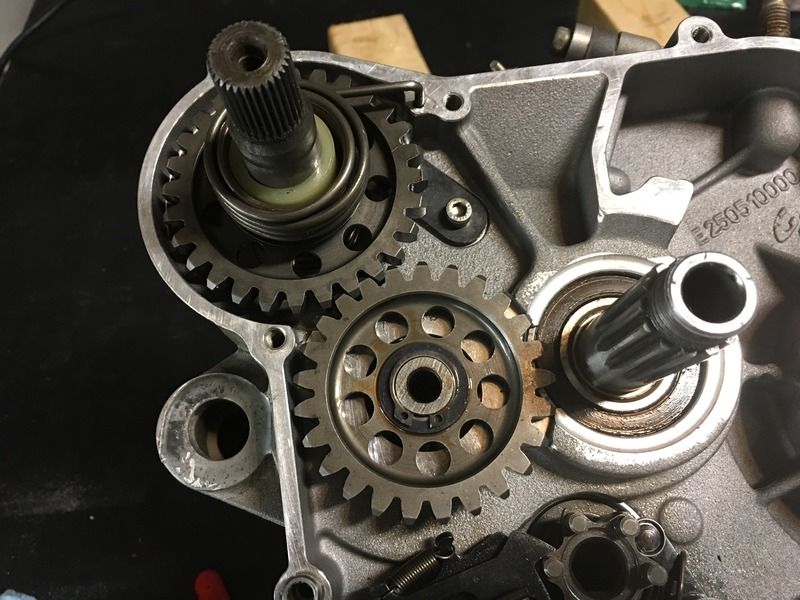 Lubricated the new bearings: 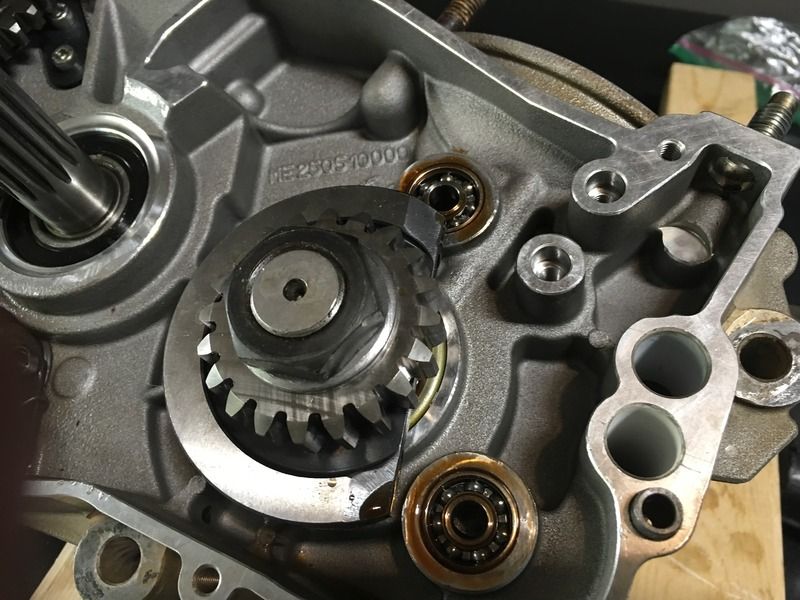 Reinstall the centrifugal assembly: 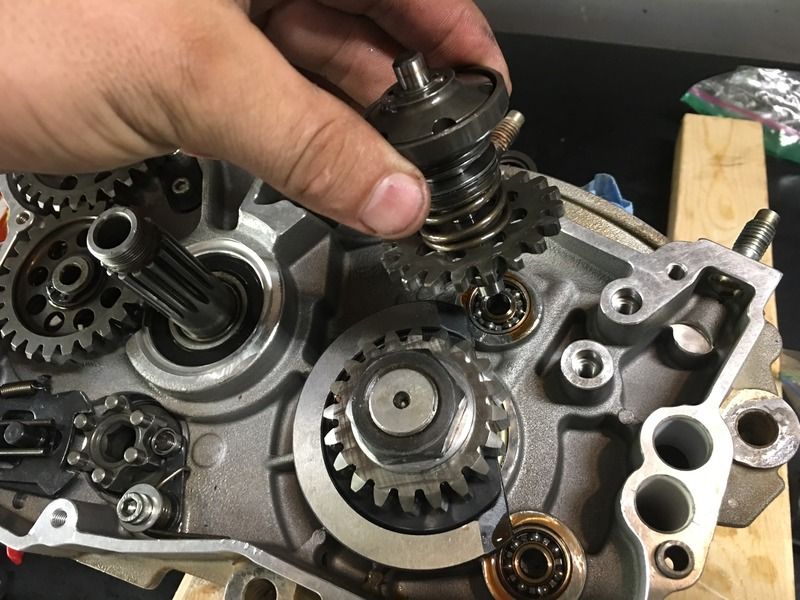 Put the alignment pins back in: 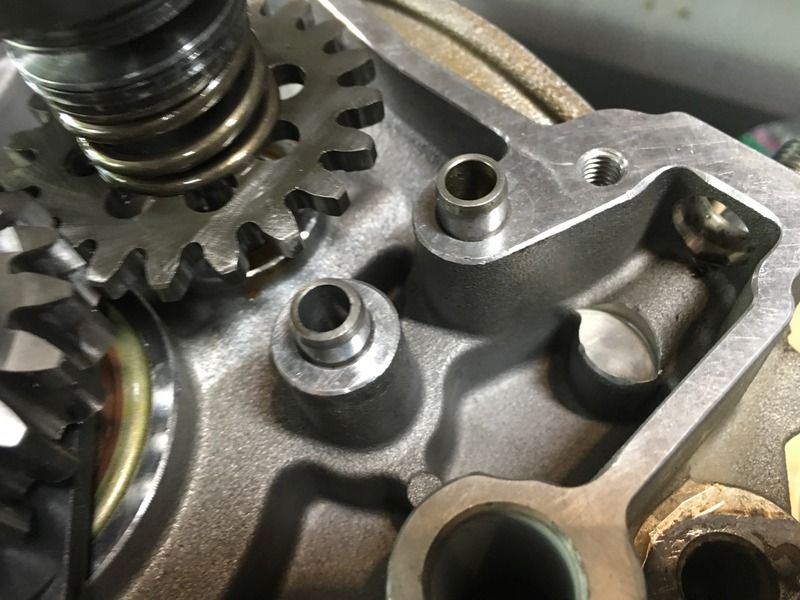 Re-install the support block back into the engine. Making sure to put the pin in the slot between the shims. Bolts tightened to 10 Nm: 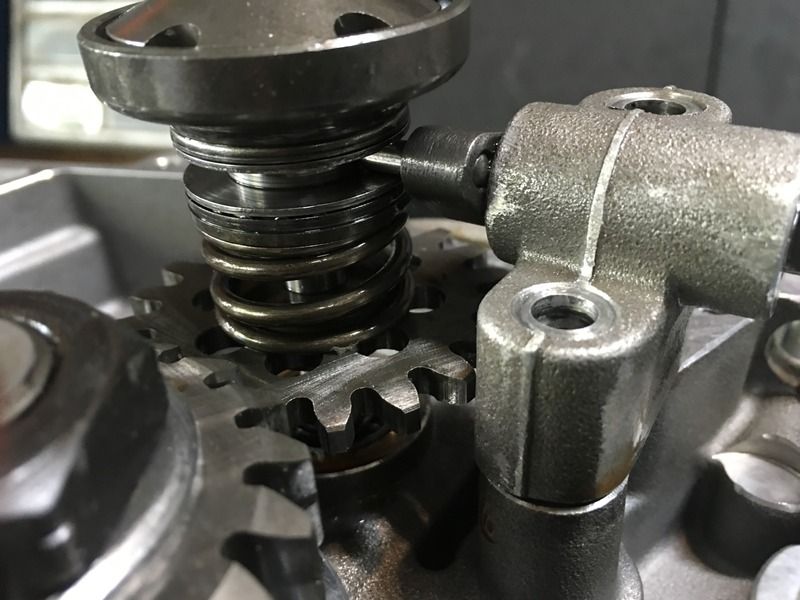
|
|
#70
|
|||
|
|||
|
|
 |
|
|
 Similar Threads
|
||||
| Thread | Thread Starter | Forum | Replies | Last Post |
| Complete 2002 ec300 rebuild/conversion | astout93v | General Discussions & Announcements | 1 | 12-07-2014 12:58 PM |
| S3 Race Custom Modified EC250 Complete Rebuild | Jakobi | Enduro Engine - 2 stroke | 173 | 06-23-2014 03:12 AM |
| 2011 ec250 engine complete 70hrs | roverhybrids | Parts | 3 | 01-16-2014 08:20 PM |