
|
|
#81
 04-23-2013, 07:05 PM
|
||||
|
||||
|
Finished work. Went past the ice factory and picked up a kilo and a half of pellets for $7. Past the bike shop and picked up the crank which went straight on the ice. It was a 45min trip home and I was all ready to install the crank. Then.. old man challenge decided to play his hand again.
I removed the gasket from the spares and its torn. It didn't tear when I just pulled it out. It appears to have just sheered away along its natural grain. Needless to say its only good for the bin now. Scottys dirt bike spares are shipping me one up express which will save me, but tomorrows a public holiday and I'm at the other end of the country. It could be 3 days until I see it. The dry ice won't last that long so I'll be back to square one again. Not much more I can do but laugh about it. Wasted time and money. I guess I'll spend the spare time enjoying the PH, and the rest getting the top end setup (ring end gaps, deglaze bore, refit the pv, etc). 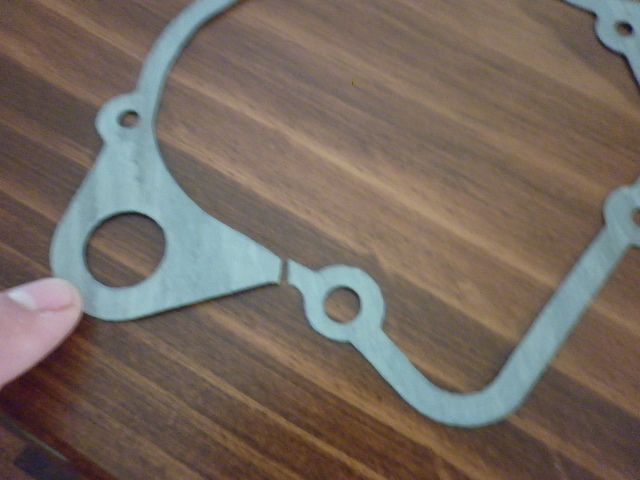

|

|
#82
04-23-2013, 08:06 PM
|
||||
|
||||
|
In the mean time. I have dropped the crank into the pri side. The freezing process always ends up with a fair bit of condensation forming on the parts. Adding oil just seems to emulsify and make a nice creamy past. Whats the best way to deal with this? Just let it evaporate off as best as possible and then add oil?
|
|
#83
04-23-2013, 09:23 PM
|
||||
|
||||
|
Quote:
Great work on the rebuild - you're getting the full experience - and thanks for sharing the pics. You may have a future in GasGas technical writing 
__________________
Steven Beane #275 PlusOnePerformance - Superior Service the World Over - Dearborn MI AMA District 14 (Michigan) Officer  afterhourscycle.com Michigan's Beta and TM Race Headquarters
|
|
#84
04-23-2013, 09:39 PM
|
||||
|
||||
|
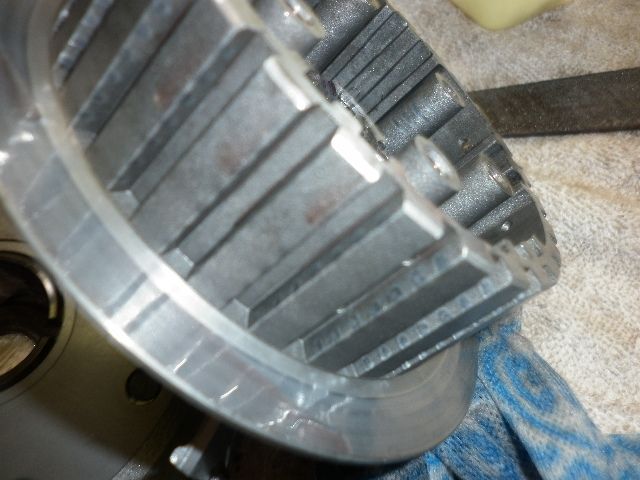
Quote:
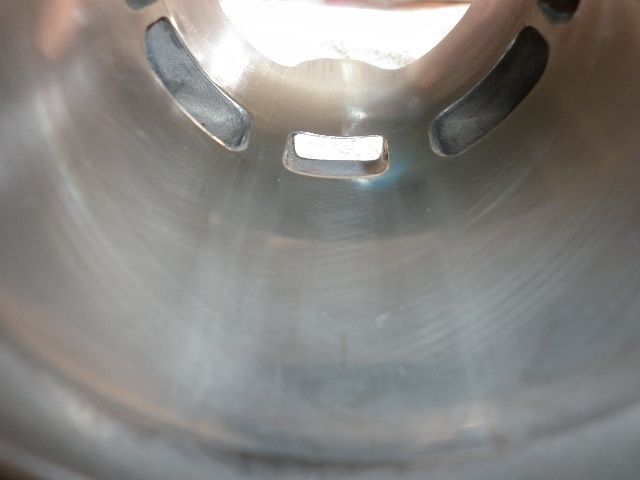
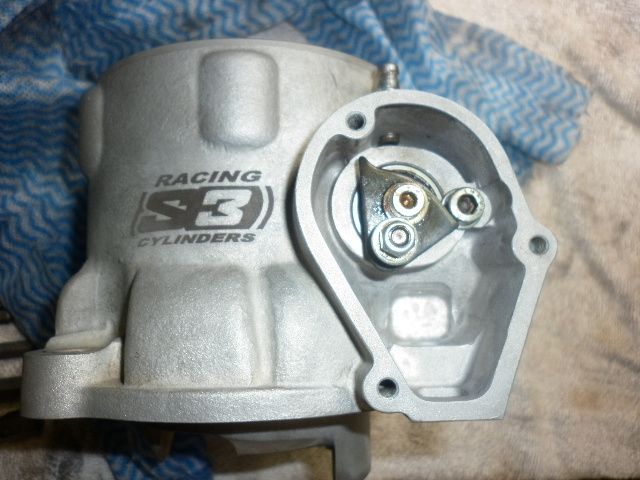
The cylinder has been deglazed using some carb cleaner and a scotchbrite pad. Powervalve assembly was cleaned to remove the excess carbon. I didn't scrub it back to metal or polish it up this time. It cycles through its range of motion freely forwards and backwards with the stop bolt removed. The head wiped clean really easily. Not sure if I want to run the gold head or the red one.. Decisions decisions. 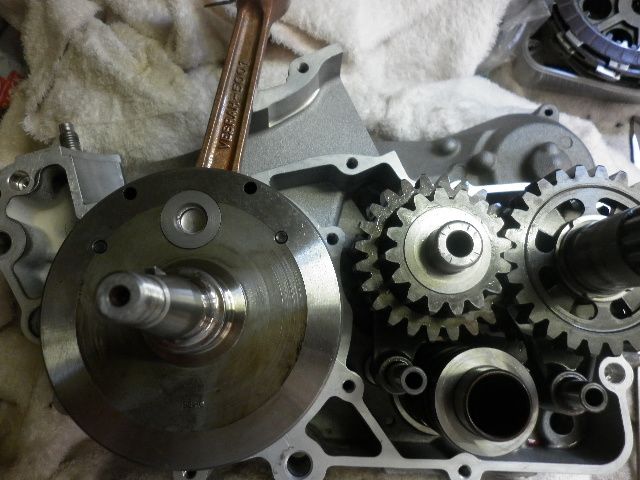 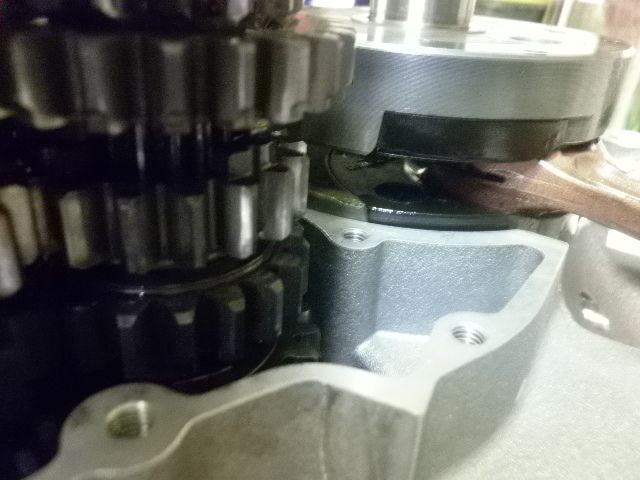
|
|
#85
04-23-2013, 09:44 PM
|
||||
|
||||
|
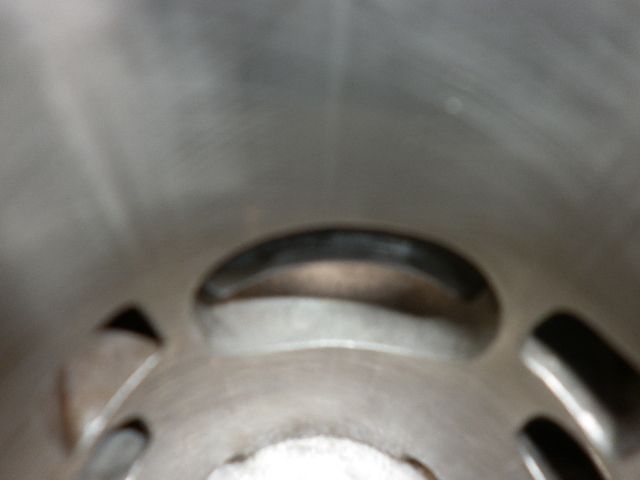
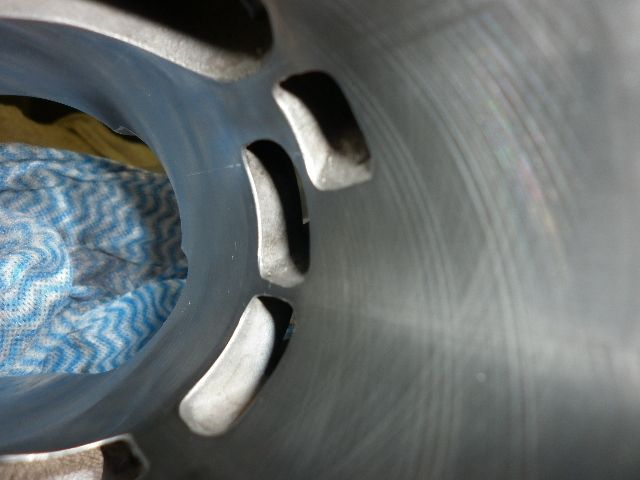
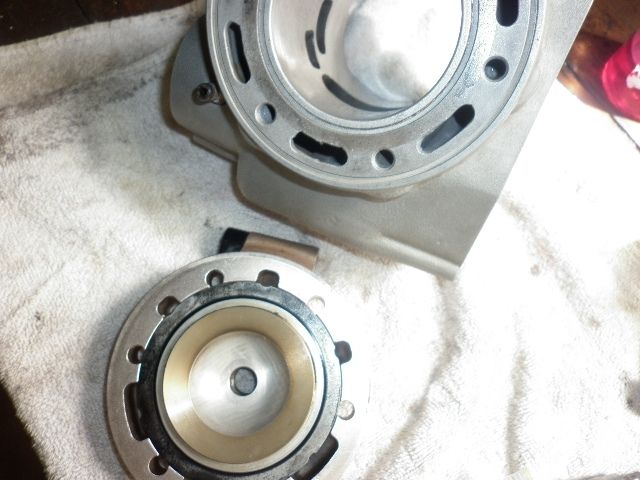
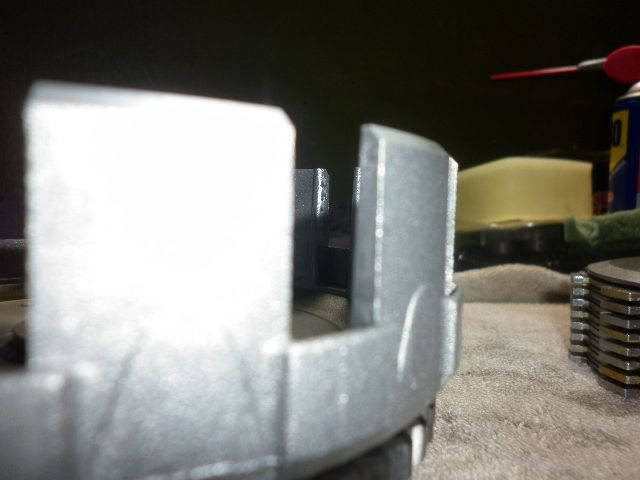
The cylinder has some verticle lines in it each side of the exhaust port. You can still see the cross hatching through them. Dragging a fingernail around the cylinder across the scoring they are not noticable. I think this might have been caused by the top ring buldging from its end gap being at the maximum spec.
|
|
#87
04-23-2013, 10:18 PM
|
||||
|
||||
|
That looks good. I usually do motors over the winter, so my pellet stove is going all the time. Condensation does not last long in the warm dry air in that room. Cases with cryo fit bearings I'll put right on top for a quick warm up.
Sent from my iPad using Tapatalk HD
|
|
#88
04-24-2013, 12:01 AM
|
||||
|
||||
|
Pottering around today taking things slowly between other jobs.
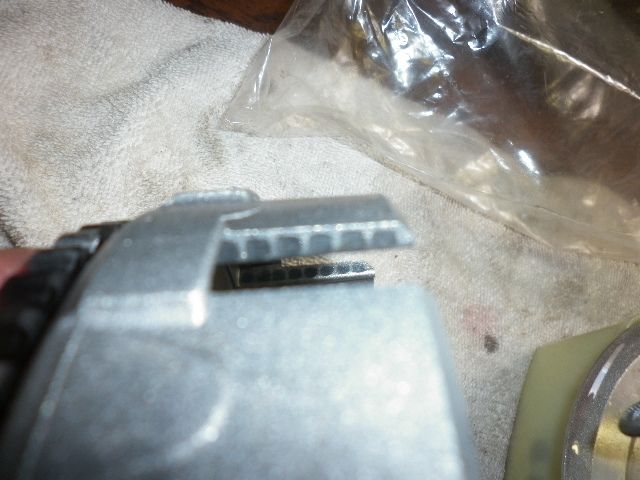
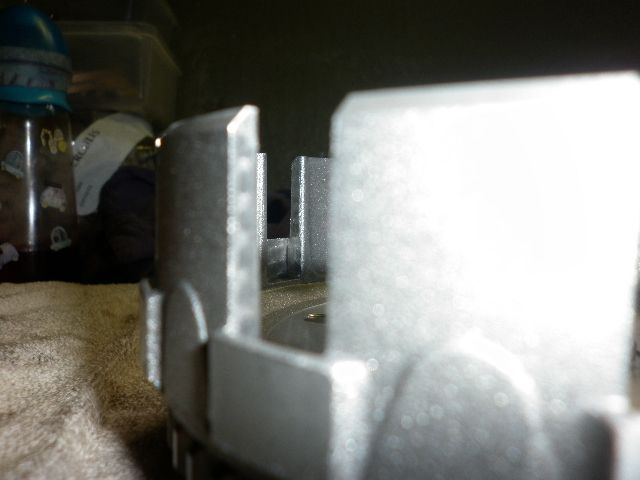
Ring end gaps set 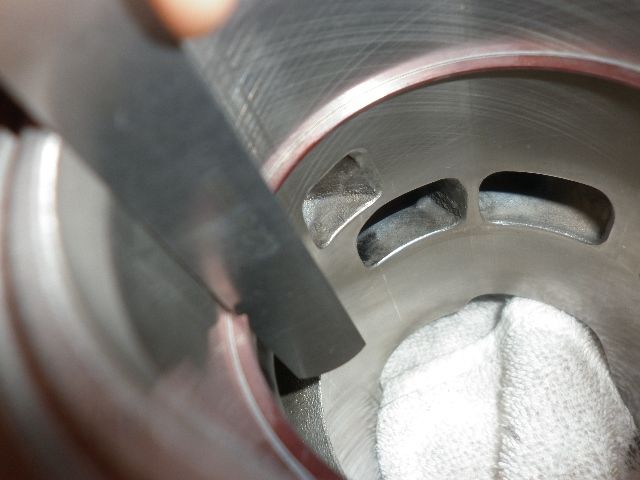 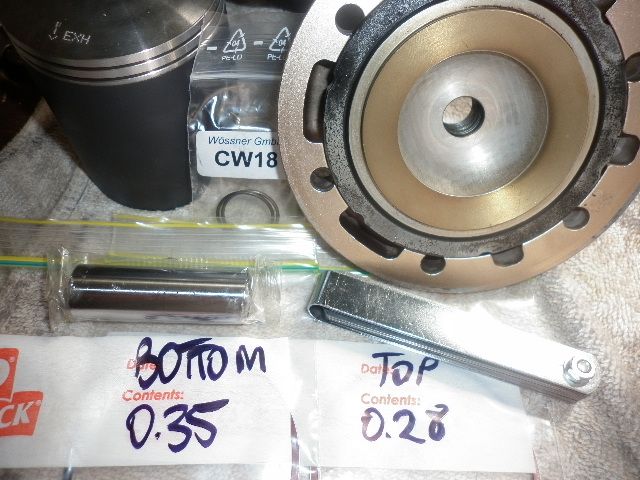 Exhaust spigot cleaned and installed. I could have chose to port match the cylinder with the spigot but couldn't be bothered hooking into this one. The spigot has been matched to the 300 cylinder in the past and is pretty close when on the 250. Good on top and bottom, with just a bit of cylinder overhanging both sides. 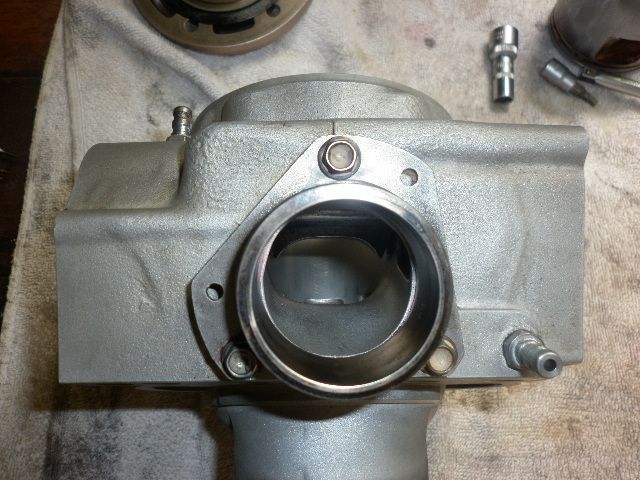
|
 |

|
|
 Similar Threads
|
||||
| Thread | Thread Starter | Forum | Replies | Last Post |
| First Top-End Rebuild on a 2007 EC250 | speedy08 | Enduro Engine - 2 stroke | 9 | 06-22-2011 09:16 PM |
| EC250 engine rebuild? | robszombie | Enduro Engine - 2 stroke | 3 | 12-07-2009 11:38 AM |


 Linear Mode

