
|
|
|||||||
| Enduro Engine - 2 stroke Cylinder, Piston, Tranny, Bearings, Clutch, Pipes & Silencers, etc. |

 |
|
|
Thread Tools | Display Modes |
|
#1
 04-16-2013, 12:27 AM
|
||||
|
||||
|
Hello everyone. Here I go again on another learning curve following on from the last one HERE. 110 hours or there abouts has passed since I changed the EC300R to a 250 and I must say I've loved every second of it. The Gasser has been as reliable as a stone and now has 260hrs on the bottom end. I figured it was time for a complete rebuild. I have a large assortment of parts ready which I will probably photograph and post tonight. I may add costings too if anyone shows interest.
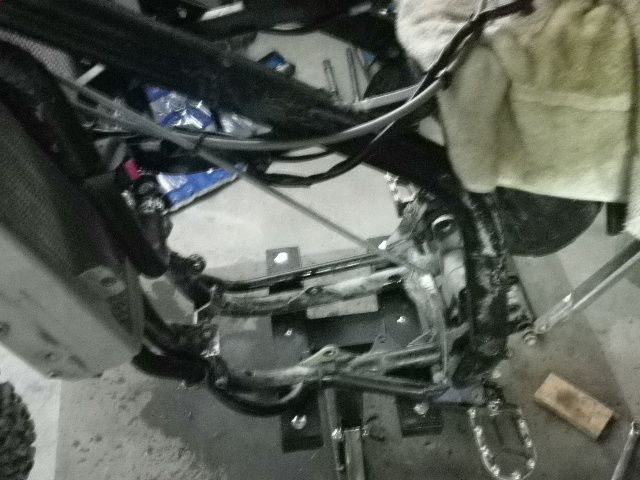
Stage 1: Engine Removal All went to plan here. No real issues. Dropped the fluids and went about removing what had to come off to get the engine out. I had planned to remove the engine complete with flywheel however it appeared to be a whole lot of work to unwire everything so just left everything connected and removed the flywheel and stator. No rust or corrosion on the flywheel at all which was fanstastic. 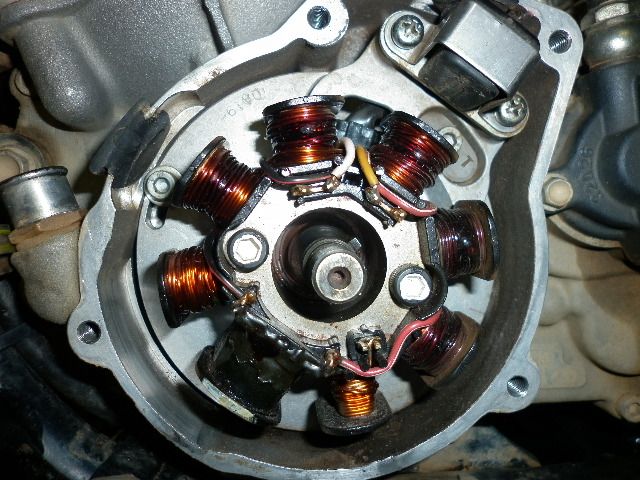 The 2K3 doesn't allow you to modify the timing. I will discuss this with Dave and may look at drilling this out a bit and advancing the timing just a tad. 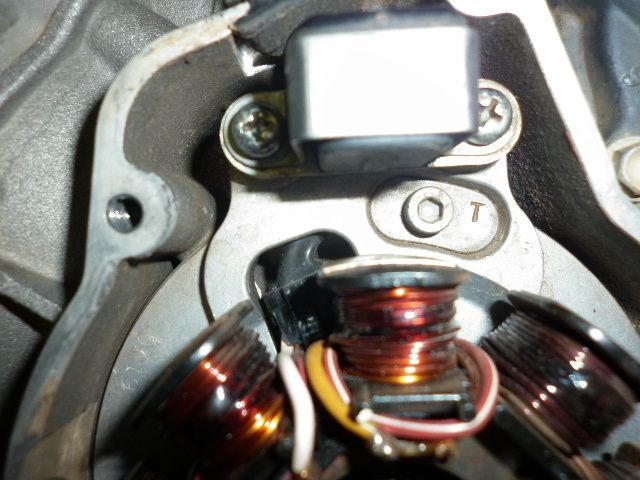 It looks like the main seal might have been leaking slightly. There appears to be a bit of oil and dust in below the seal. The bike hadn't shown any dangerous signs of running lean but it did feel a bit flat in the top end at the end of the last ride. 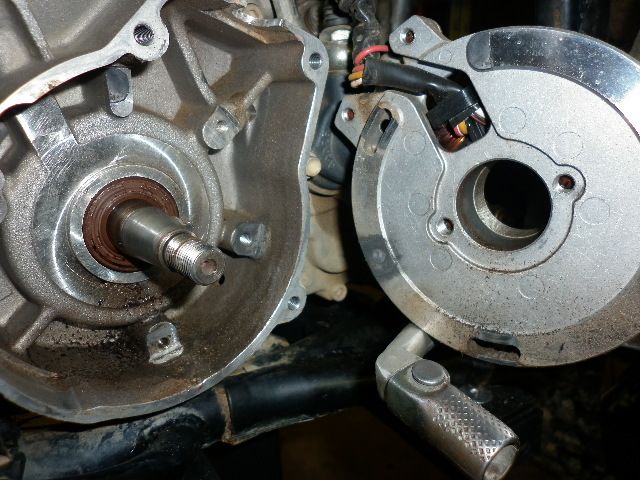 Out of the bike and on the bench. I need to go and fab up a jig to hold the engine in the vice this afternoon. I think that will be the easiest way to work on it. If I'm lazy I'll just use some timber offcuts and tack up a box. 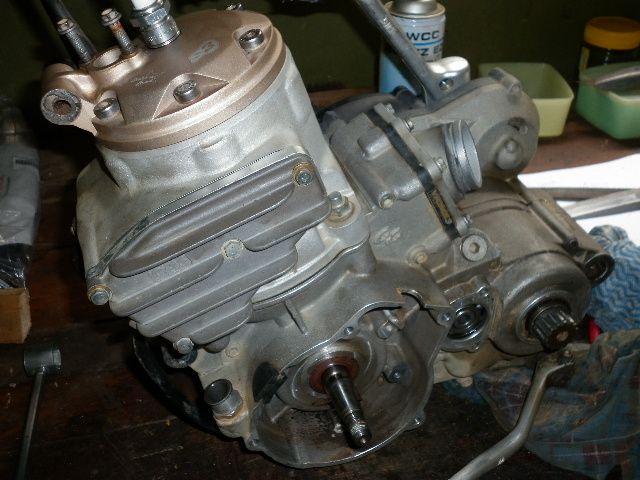

|

|
#4
04-16-2013, 03:46 AM
|
||||
|
||||
|
Quote:
|
|
#5
04-16-2013, 03:50 AM
|
||||
|
||||
|
And continuing with the pull down.
RHS engine cover bolts backed out, water pump, impeller and seal removed. 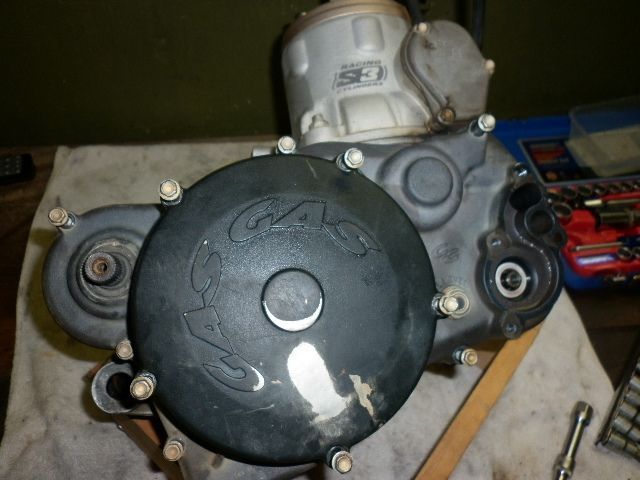 Side removed. Everything looks pretty good. Clutch basket shows no notching in the fingers on first inspection which is a bonus. Bit of rust by the looks on the PV governor spring. Thats a bit odd. A close up to follow. 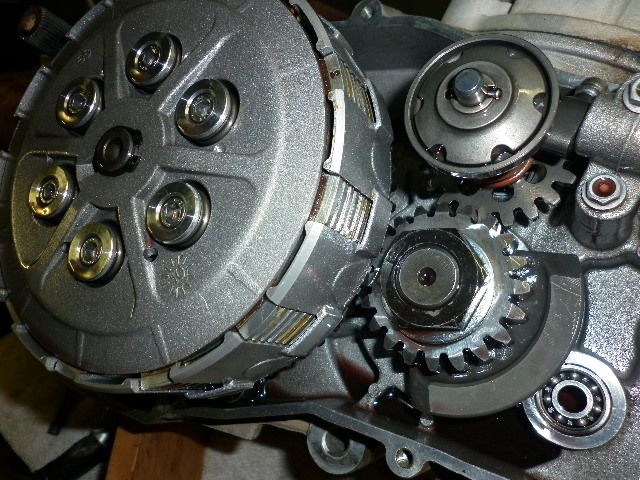 Powervalve covers removed. Not too much spooge but enough to know everythings been lubed up well. I'm very happy with the Amsoil Dominator. 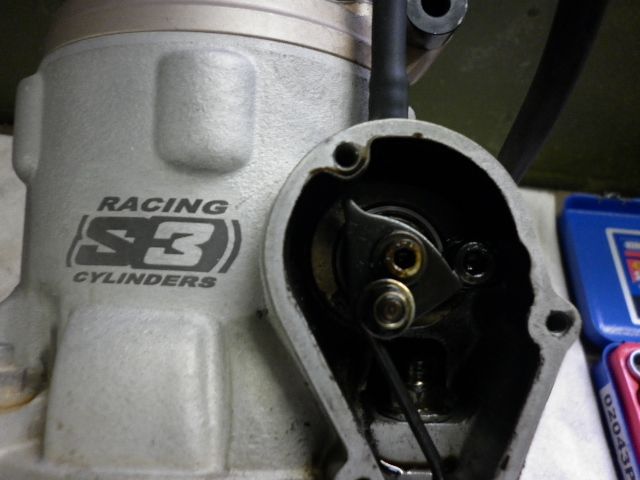 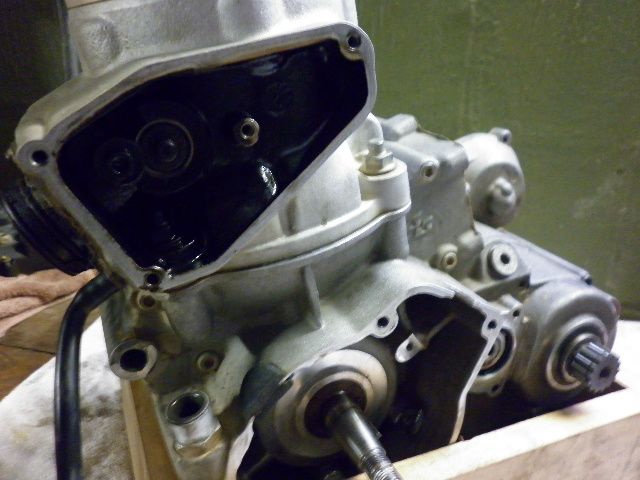
|
|
#6
04-16-2013, 03:58 AM
|
||||
|
||||
|
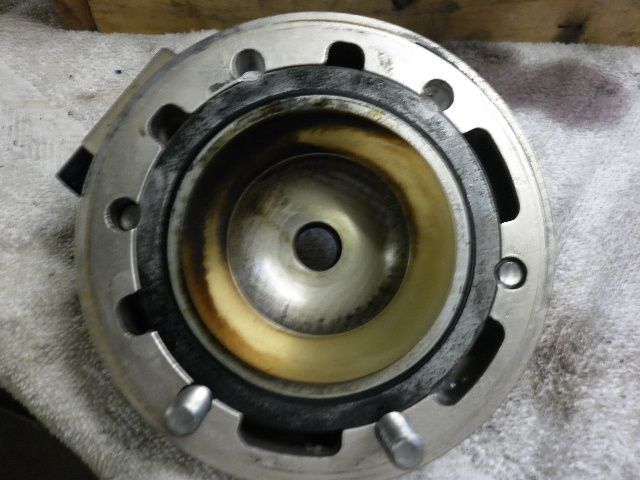
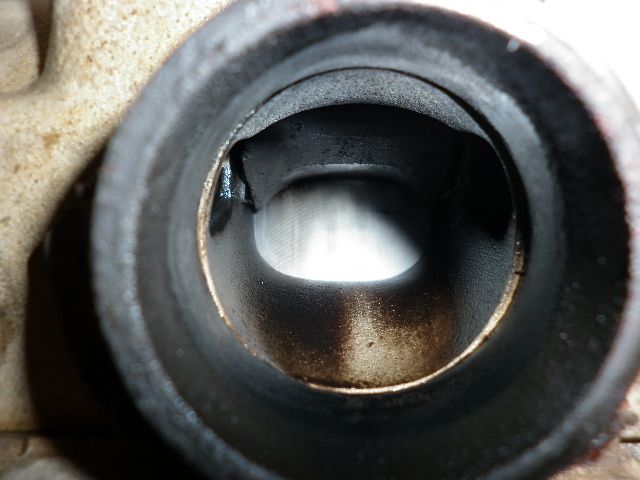
How good does the head look. Nothing has been wiped down yet. Just as they are as I strip it down. Daves magic is a winner!
 The piston wash. What do you all think? Its hard to know what was from the Lectron and what was my previous settings. Overall I think it looks pretty good. Some wash around the transfers. Not much carbon build up. Appears to be some in the middle but I have been toying around lately too. The dot in the middle is from the plastic piston stop I used during pull down. 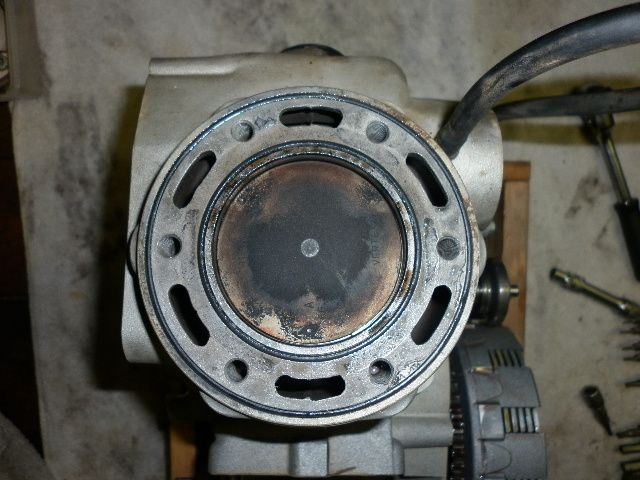 More pics will come of the piston once its been removed along with cylinder and ring end gaps etc.
|
|
#7
04-16-2013, 04:09 AM
|
||||
|
||||
|
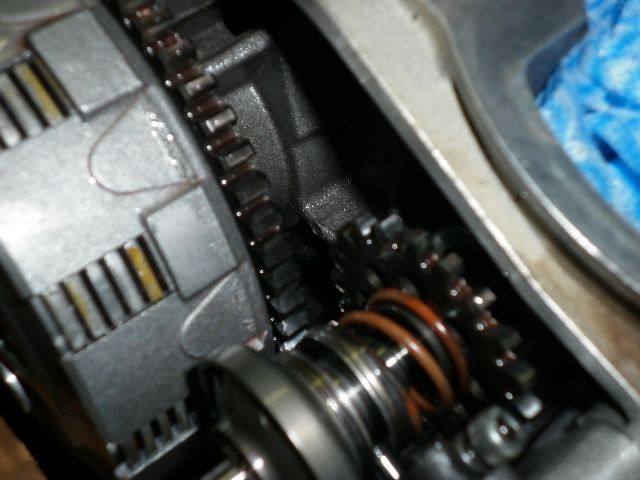
And they keep on rolling in. Notice the spring on the PV governor? Bit strange? Anyone else ever noticed such things? I'll try and clean it up when its out later. I'm also very much considering changing the shims a bit to try and get the PV cracking open sooner I think.
 Reeds all still look like new. They have been replaced once in the 260hrs. I'd have to check exact time that they were done. 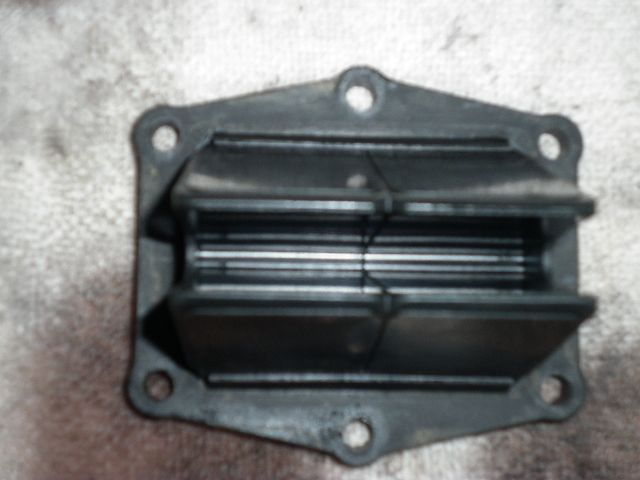 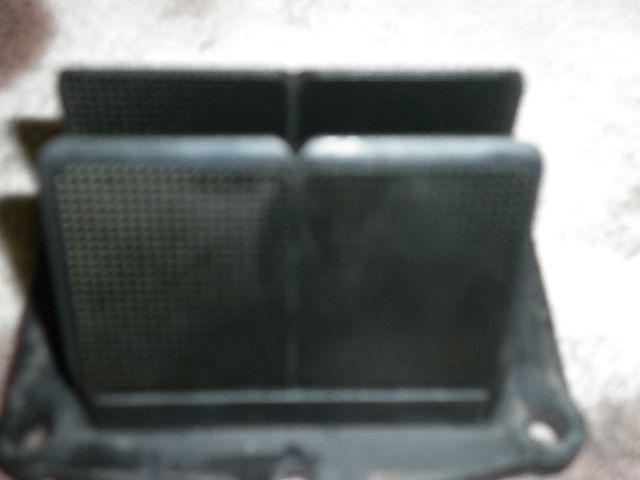 And where I am up to now. 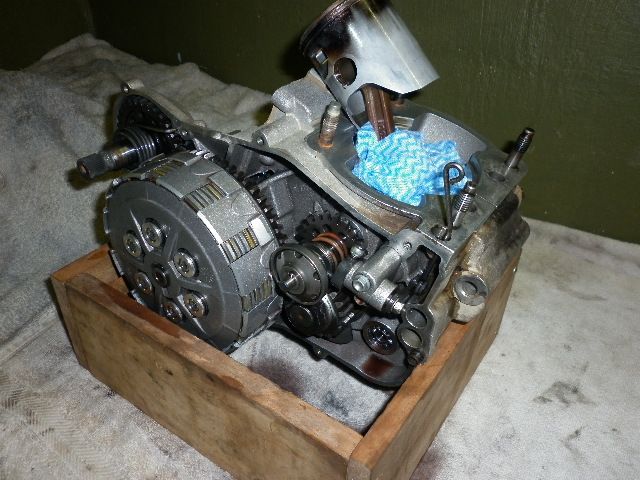 Time to get into a couple beers, have some dinner and watch a movie before bed. Tomorrows plan is to do the rest of the housework I ignored today, and then move on to getting the cases split, the crank pulled, and speccing up the wear. From what I see everything appears to be in pretty good order apart from the possible weeping main seal, and some rust on the rear cylinder mounts.
|
|
#8
04-16-2013, 07:32 AM
|
||||
|
||||
|
Great progress, and yes your engine looks to be in great health for its age.
__________________
Steven Beane #275 PlusOnePerformance - Superior Service the World Over - Dearborn MI AMA District 14 (Michigan) Officer  afterhourscycle.com Michigan's Beta and TM Race Headquarters
|
|
#10
04-16-2013, 05:27 PM
|
|||
|
|||
|
Jake post up a pic of the underside of the piston.
With the ignition the stock advance is only about 20-22 degrees at lower rpm from memory. There's room to go higher by a 2-3 degrees but then as the curve retards in the higher rpm you'll be left with a little too much advance, should still be safe with correct squish, etc but you'll lose a little top end and over rev. Have a play going from +2 to -2 and see how it feels with the mods you've got. There's no single best curve, it's all relative to the individual setup. That's why programmable ignitions are so good cause you can set it exactly how you need it.
|
|

| Thread Tools | |
| Display Modes | |
|
|
 Similar Threads
|
||||
| Thread | Thread Starter | Forum | Replies | Last Post |
| First Top-End Rebuild on a 2007 EC250 | speedy08 | Enduro Engine - 2 stroke | 9 | 06-22-2011 09:16 PM |
| EC250 engine rebuild? | robszombie | Enduro Engine - 2 stroke | 3 | 12-07-2009 11:38 AM |


 Linear Mode

