
|
|
#81
 04-25-2012, 07:06 AM
|
||||
|
||||
|
Quote:
Picked up some new bearings for the powervalve assembly and also gave the powervalve a bit of a clean up and polish. Will be spending the time to ensure the exhaust spigot matches the port 100% as well. Have to test the preload on the powervalve yet too, and if required will pull the RHS engine cover and adjust as neccessary. Dave has also been kind enough to machine up 3 x 8mm spacers for the LHS powervalve cover which he'll send up at a later date. I'll be able to experiment to determine which provides the best bottom end. And.. I still need to pull the carb and check the reeds over. They were replaced not that long ago so expected to be in good working condition. While in there I'll remove the spacer which is meant to boost snap and response on the bottom. She'll be like a new bike! 
|

|
#83
04-25-2012, 03:22 PM
|
||||
|
||||
|
I think we're saying the same thing re the reed spacer. I said removing it is meant to boost bottom end snap a bit. You said the spacer softens it if anything. Check! Removing it based on what you'd advised previously
 I'm not sure how I'll like the larger powervalve volume, but with 3 spacers I'll be able to try different volumes and worst case I just run stock again.
|
|
#84
04-28-2012, 10:24 PM
|
||||
|
||||
|
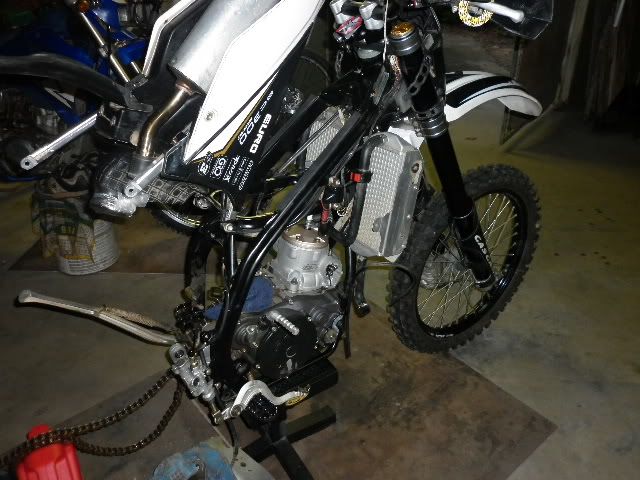
So I have all the parts back from Dave now, and have a few days off. Just finished cleaning and assembling the powervalve. Will set the ring gaps and probably button up the top end this arv. Still need to get the carb sorted and remove the reed spacer and then throw the swing arm, shock and wheel back on for the moment of truth..
|
|
#85
04-29-2012, 02:36 AM
|
||||
|
||||
|
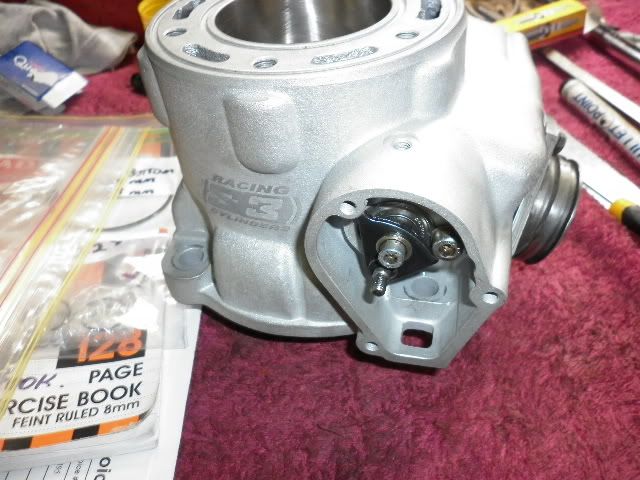
So the powervalve came up pretty spiffy after a light sand back and a polish. New bearings both sides should see it happy for some time. The exhaust spigot got the same treatment, however I didn't bother matching or polishing the exhaust port as I felt it was near enough already. The fit is much better on the 250 jug than on the 300.
|
|
#86
04-29-2012, 02:43 AM
|
||||
|
||||
|
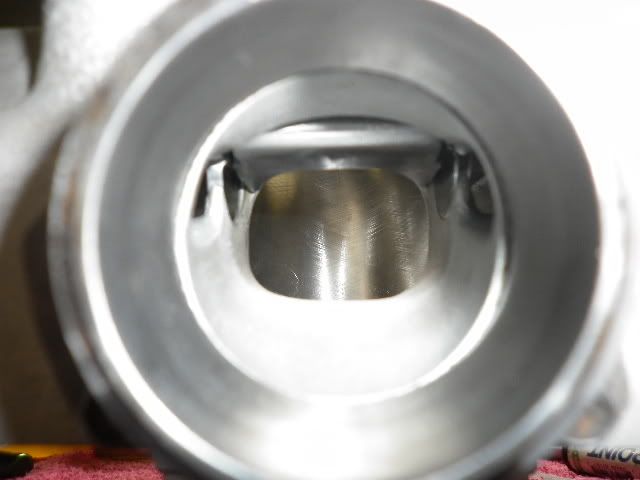
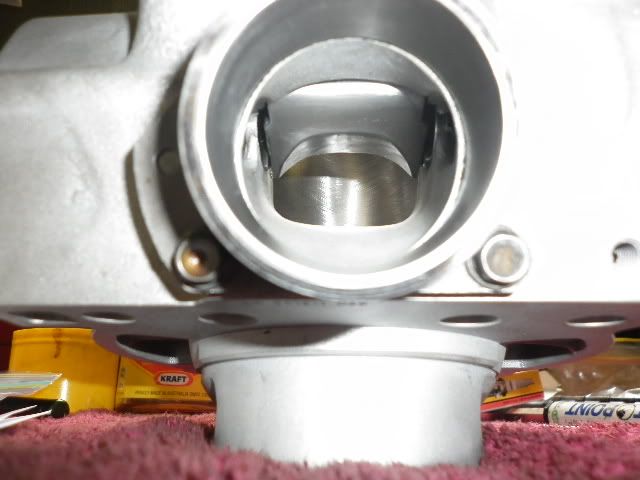
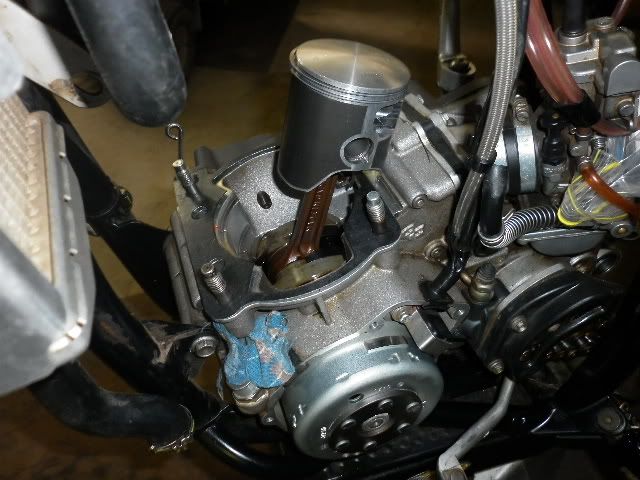
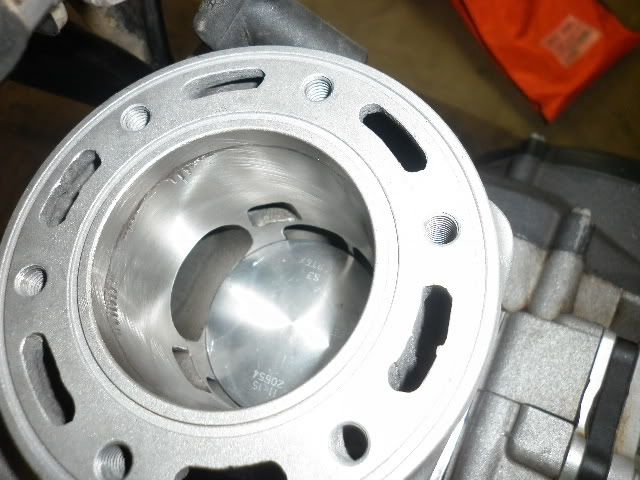
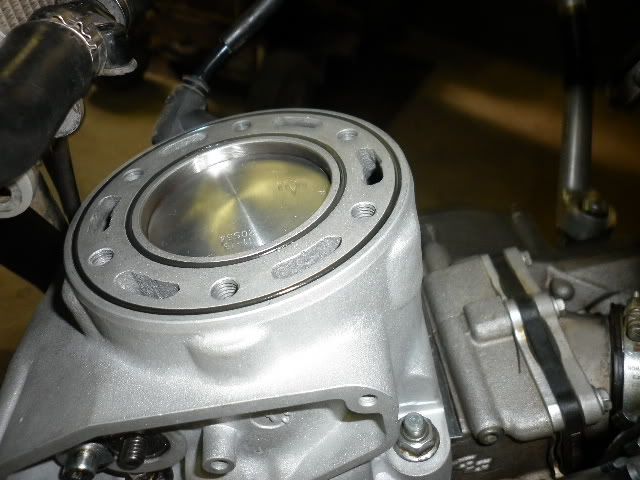
Daves handy work looks great! I didn't take the time to confirm the squish again as the only change to deck height was made by reducing the gasket stack 0.8mm. You can see the piston sits above the exhaust port at BD. I set the rings up with only some light adjustment to the bottom ring gap. Everything snugged up without headache and the C-clipper worked a treat!! Highly recommended!
|
|
#87
04-29-2012, 02:49 AM
|
||||
|
||||
|
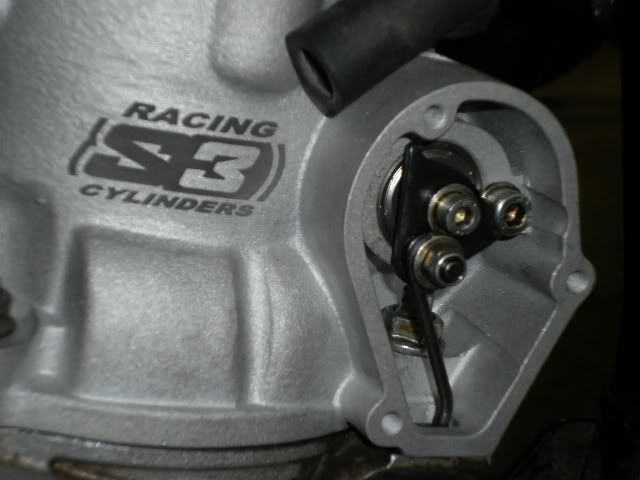
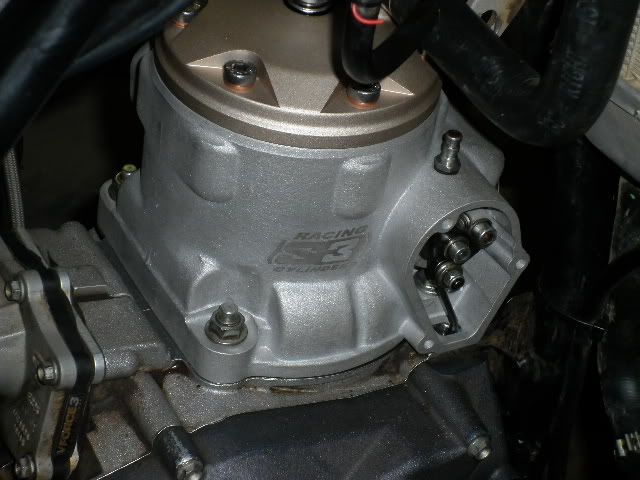
The powervalve governor didn't require any adjustment and pushed up against the stop under the current preload. Couldn't be happier about that! Even the head o-rings were playing the game today and more than happy to sit in position without jumping out.
|
|
#88
04-29-2012, 02:54 AM
|
||||
|
||||
|
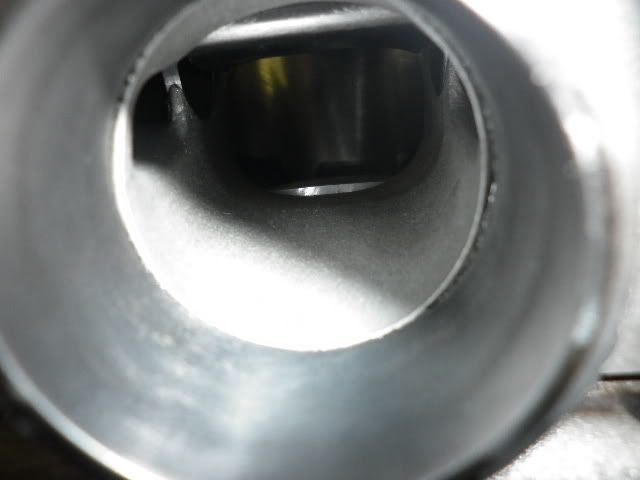
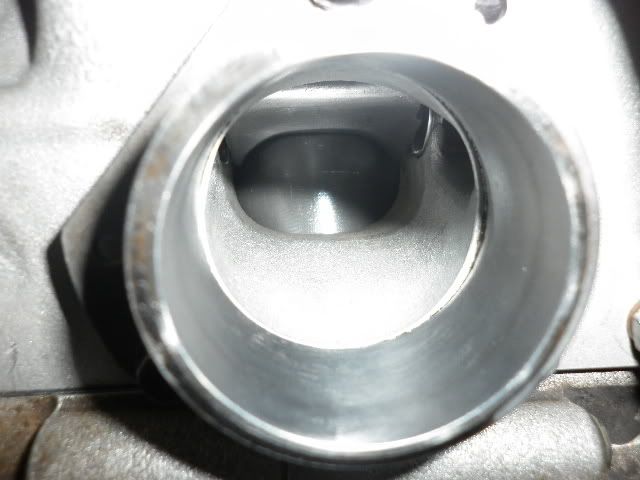
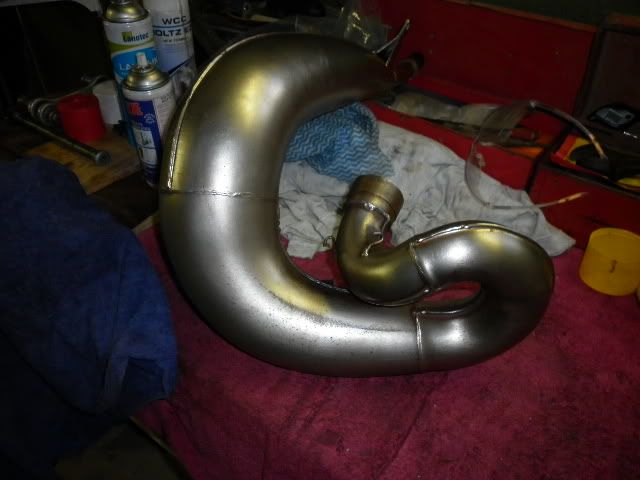
The pipe is still in top shape for 165hrs too! The P3 guard shows some decent gouges where its been dumped and tumbled. Very happy that no damage has been transferred through. Surface rust was present under the carbon but thats to be expected.
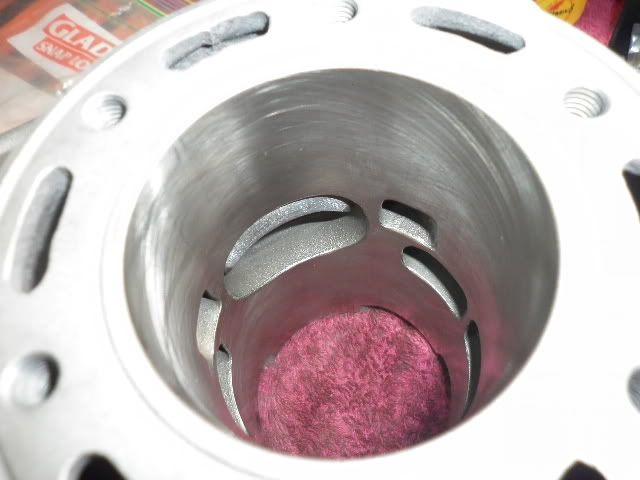
   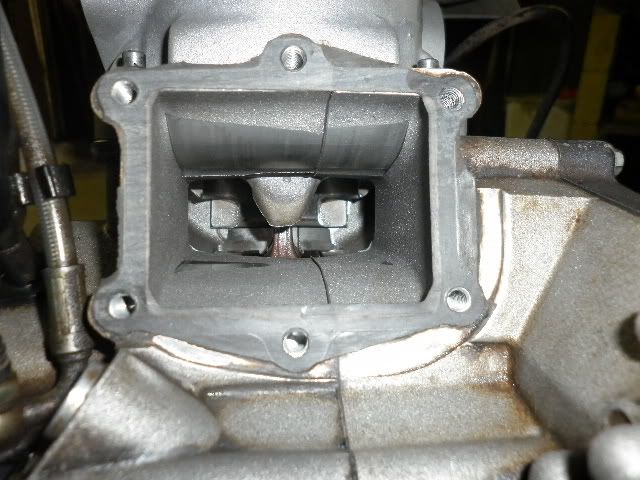 Quick question regarding the last image. You can see the reeds have polished the intake as there are no reed stops. I have since removed the reed spacer so the reeds will sit in an extra couple mms. There is a defined edge from where they used to seat in the cases. I thought about sanding this edge smooth but don't really want any filings etc anywhere near the crank cases. Whats the odds that this little edge will eat up my reed petals? They are in fantastic condition currently. Opinions?
|
|
#89
04-29-2012, 10:18 AM
|
||||
|
||||
|
I had to clearance for reed cage screws on my daughters 85 one time. I just stuffed the port with a rage against the piston, tapped over the rage and did the job with a Dremel tool. Then vacuumed the port out and wiped it with brake clean before I removed the tape and rage. A bit risky I suppose , but we never had any trouble. That RM 85 was bullet proof! I expect that you would not want an edge across the reeds.
__________________
2018 EC 300 
|
|
#90
04-29-2012, 07:29 PM
|
||||
|
||||
|
Sigh.. This morning giving the bike the entire going over again I double checked the ignition side. Grabbed the flywheel and there is a very slight play up and down in the bearing. It is enough to feel but takes a good bit of force to move it. From all the research I have done it seems the 2010 uses a caged ball bearing which should have ZERO play. Looks like it might be coming apart again and more tools being purchased.
I've never had to split the cases and am not really stoked about having to do this. Is there a tolerance for this or is it a must do right now? Its starting to feel like one thing after another and the learning curve is steeper than I would have liked for this week. If it needs to be replaced I think I'll take the whole bottom end to a mechanic. The only head ache then is finding someone repuatable who I trust won't screw something else up. I just want to ride now 
Last edited by Jakobi; 04-29-2012 at 08:06 PM.
|
 |

|
|
 Similar Threads
|
||||
| Thread | Thread Starter | Forum | Replies | Last Post |
| VHM aftermarket cylinder head | GG27 | Enduro Engine - 2 stroke | 2 | 11-02-2009 04:15 AM |
| cylinder head Question? | whodat | Enduro Engine - 2 stroke | 3 | 12-27-2008 12:54 PM |
| Cylinder Head Braces | nsgasser | Enduro Engine - 2 stroke | 2 | 06-10-2008 04:52 PM |
| New cylinder head | Kent A | Enduro Engine - 2 stroke | 8 | 05-01-2007 01:43 PM |


 Linear Mode

