
 |
|
#81
|
|||
|
|||
|
Curved side is down, facing the exhaust port. The ridge (or "step") is on the top, facing up toward the head.
Long pin through the hole, lined up through the hole in the top of the flapper, and into the other side of the cylinder: 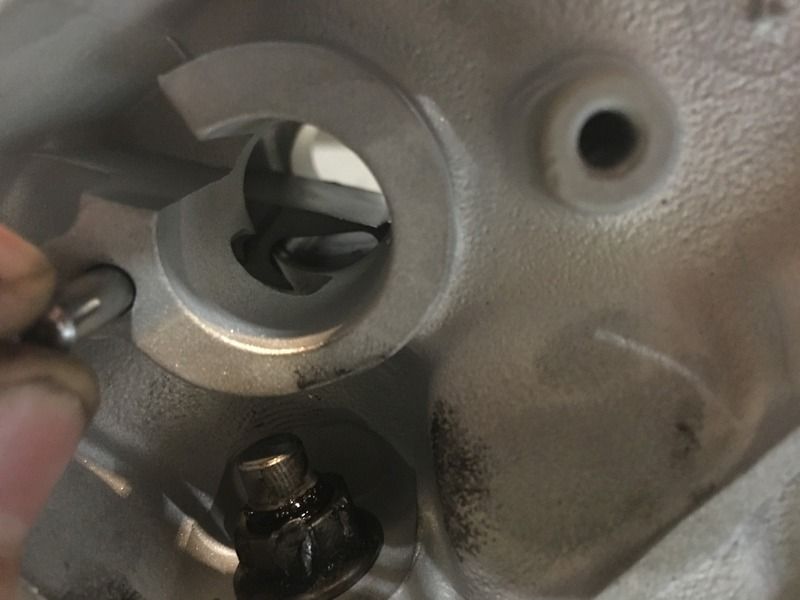 Slid in the valve with the rotating pivot point: 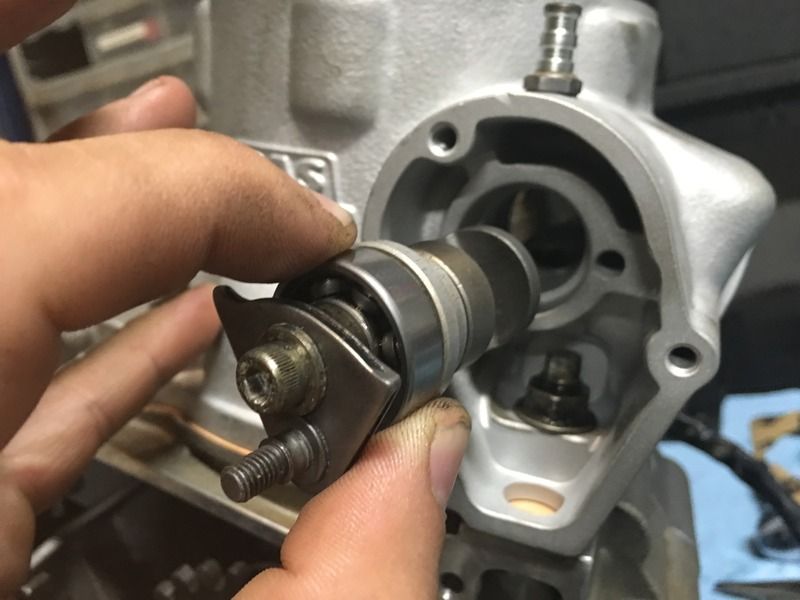 Insert the other valve, with the short pin. I put the pin through the slotted hole in the flapper and into the hole on the other valve: 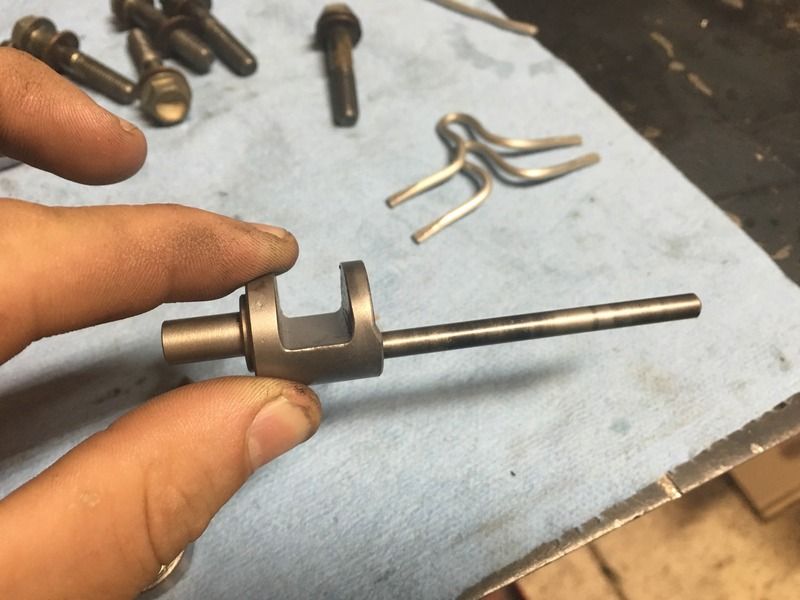 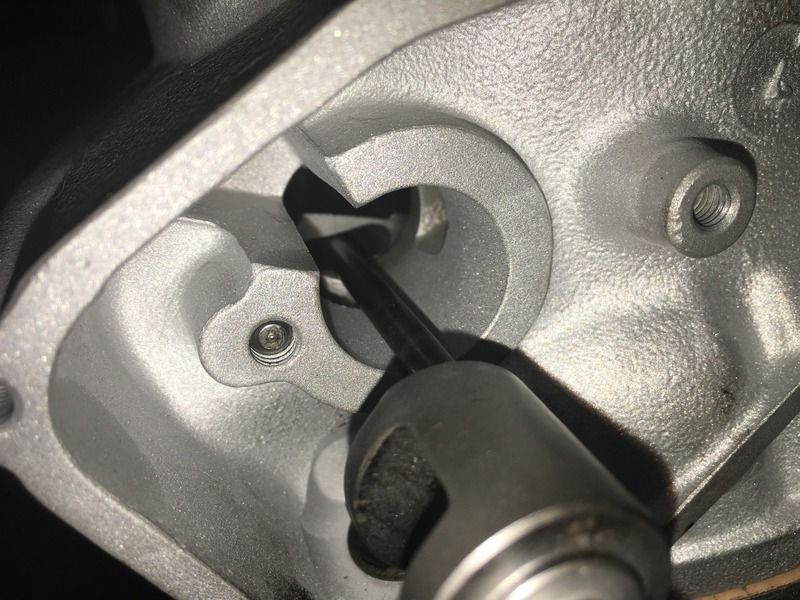 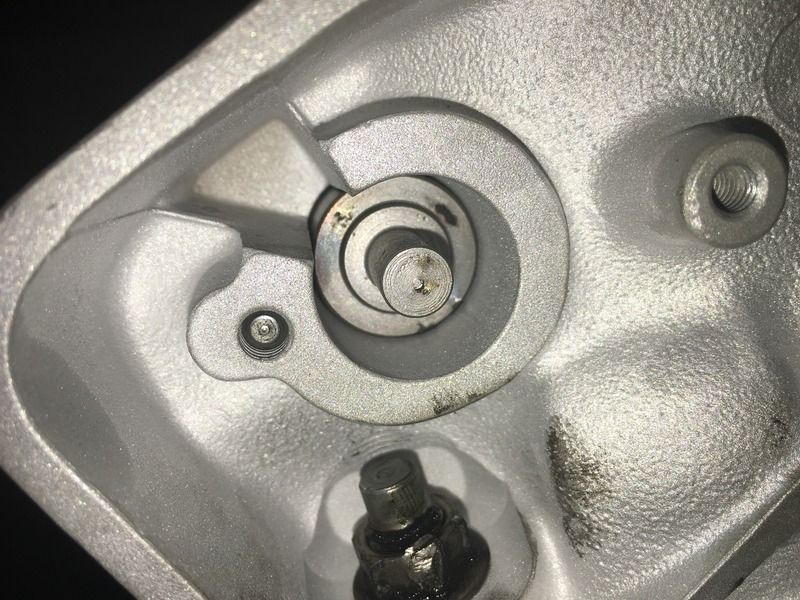 Fresh new bearings: 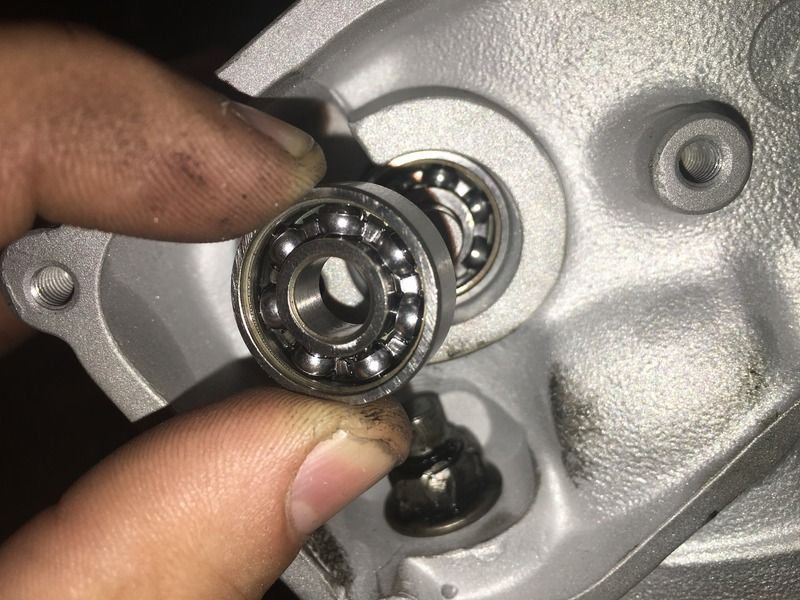
|
|
#82
|
|||
|
|||
|
Add the bearing retainer washers and nuts on each side:
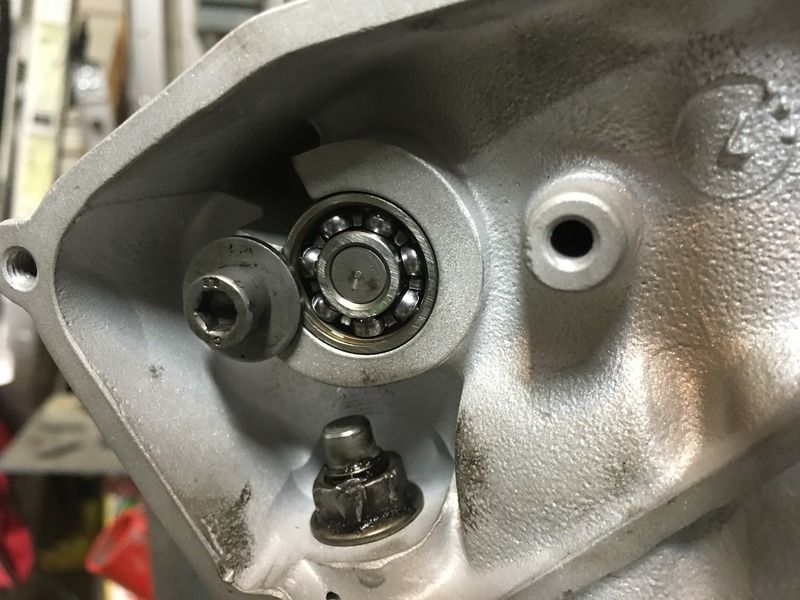 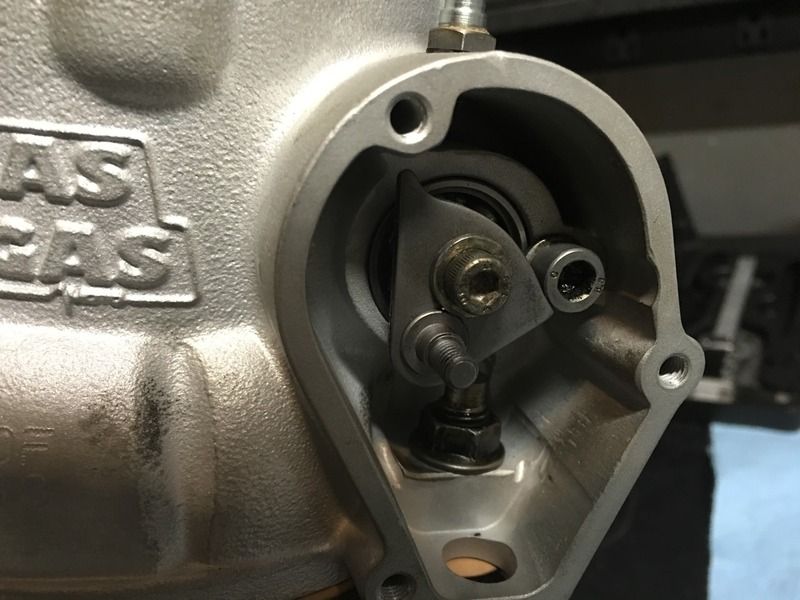 Slide the power valve linkage arm up through the hole. It might help to remove the nylon water pump gear to get a straight shot up through the hole. 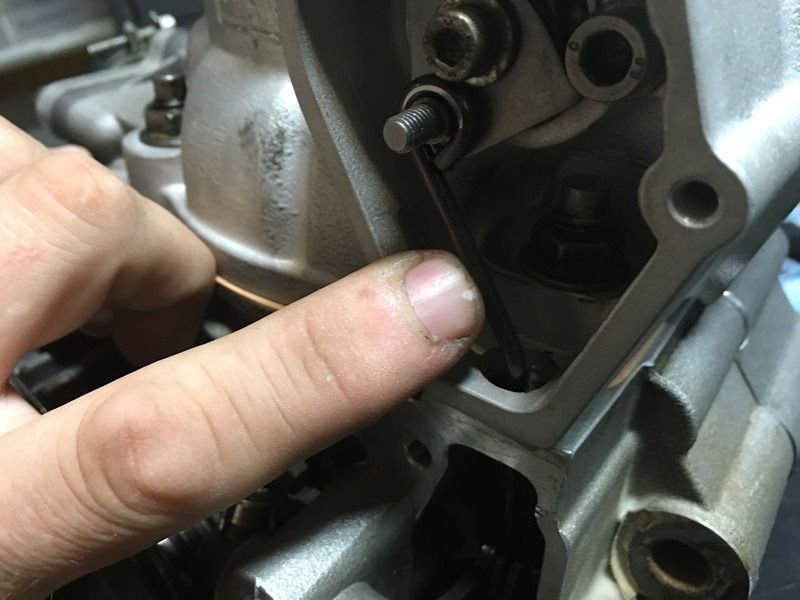 Put the arm back on the shaft. It is keyed to only fit in 2 orientations. It should look like this: 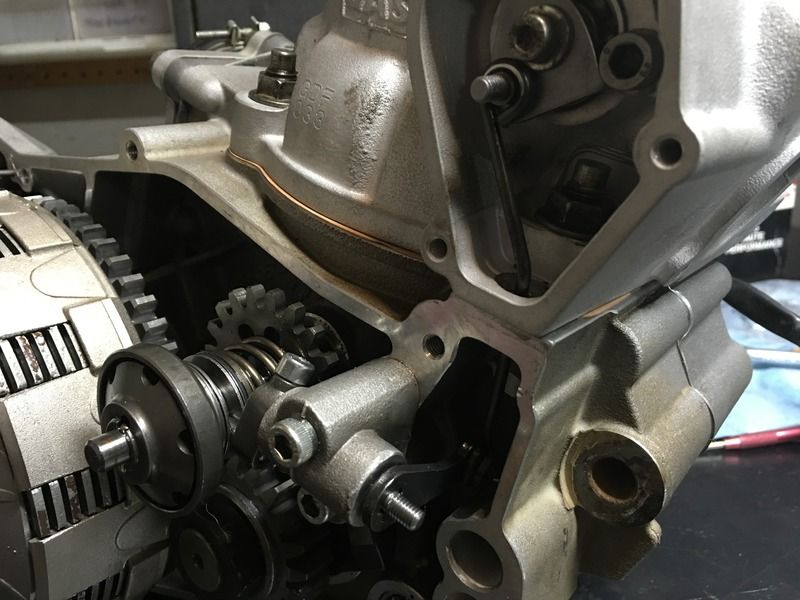 Add the washers and lock nuts: 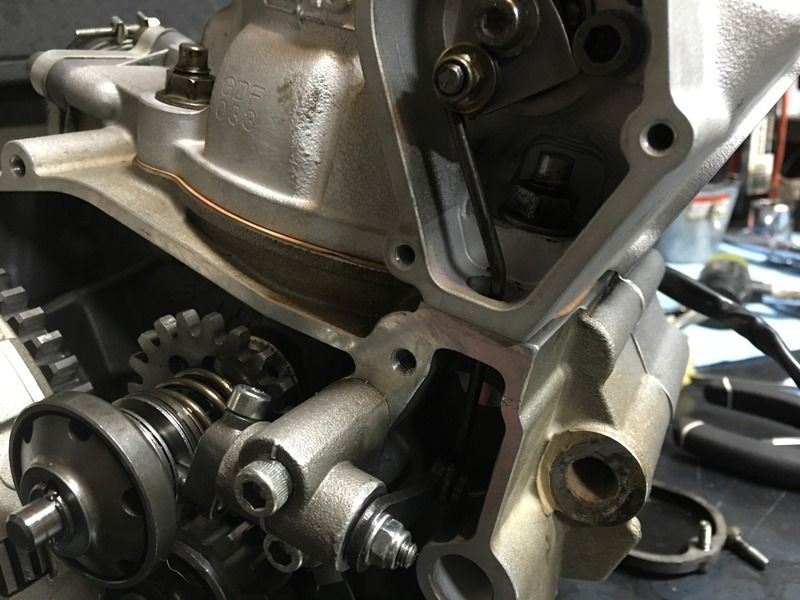
|
|
#83
|
|||
|
|||
|
Buttoning up the cylinder head. Add the o-rings:
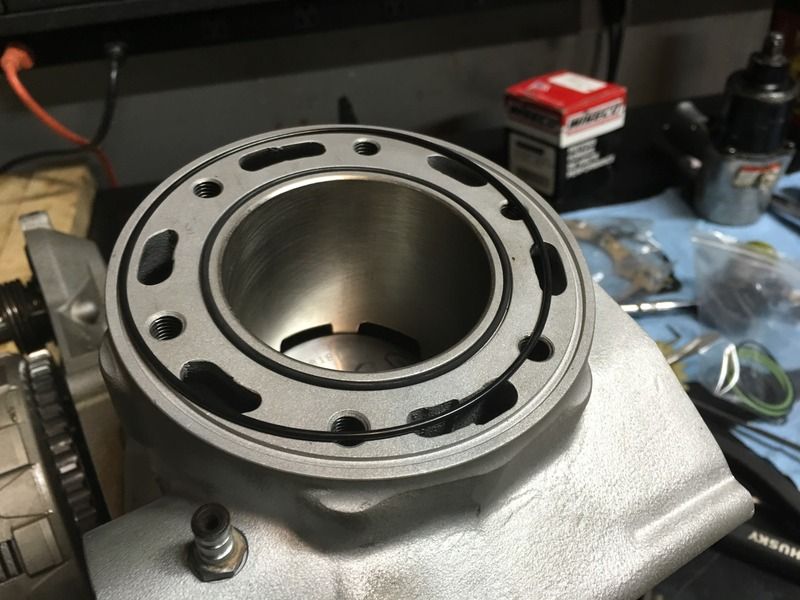 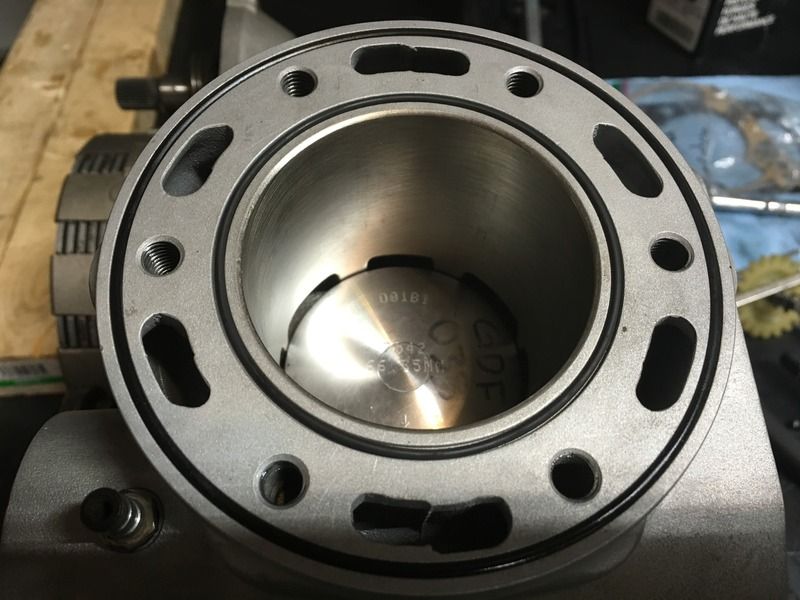 Tighten the head bolts to 25 Nm. Housing gets a fresh new gasket: 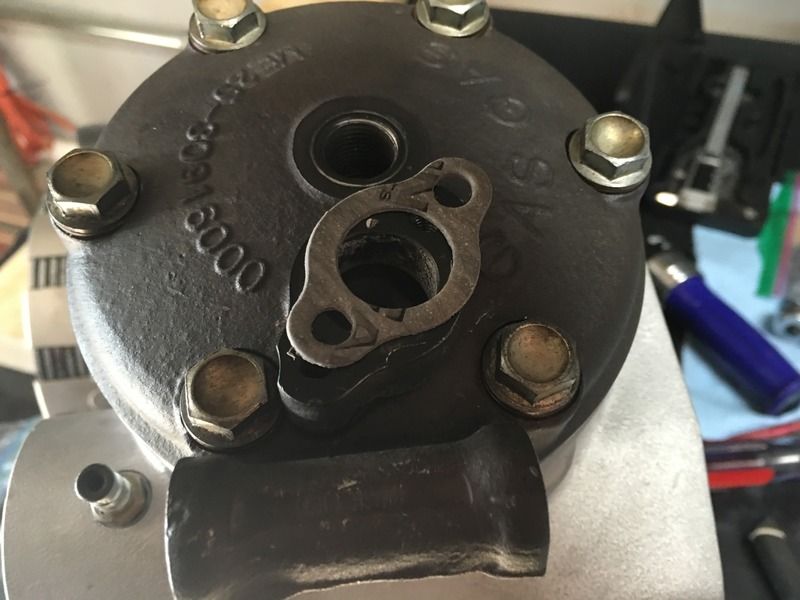 When I blasted the outer cover, the black anodized coating was removed. Some black high temp engine enamel was sprayed on. 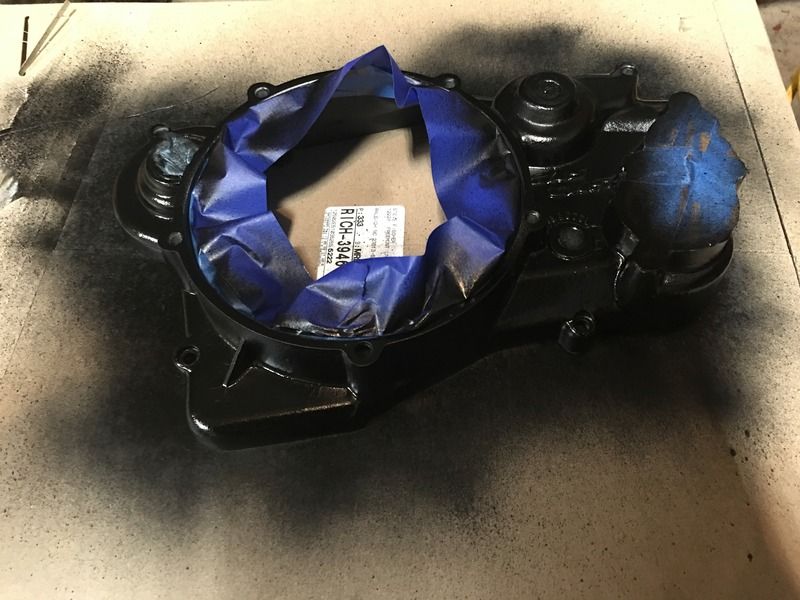
Last edited by RockefellerGG; 05-14-2016 at 02:05 PM. |
|
#84
|
|||
|
|||
|
Locktight on the bolts... you don't need this much, lol.
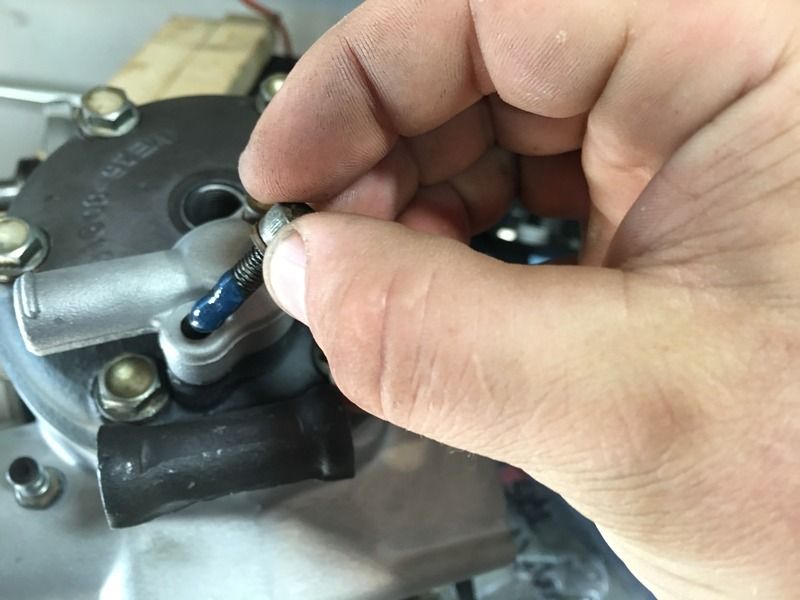 New gasket on the right side cover: 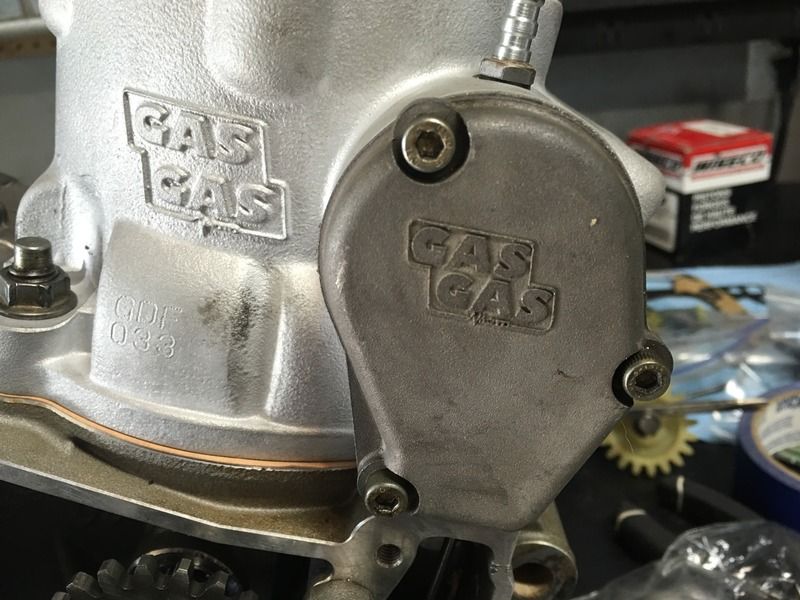 Reinstall any vent fittings. This one broke as soon as I snugged it down. I swear I wasn't putting much pressure on it. A new one should be here later this week. 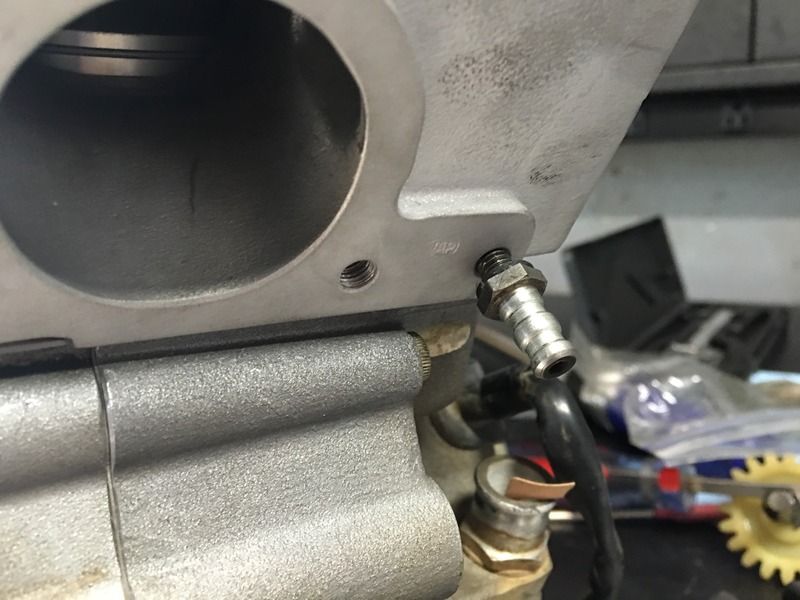 New gasket on the stator cover: 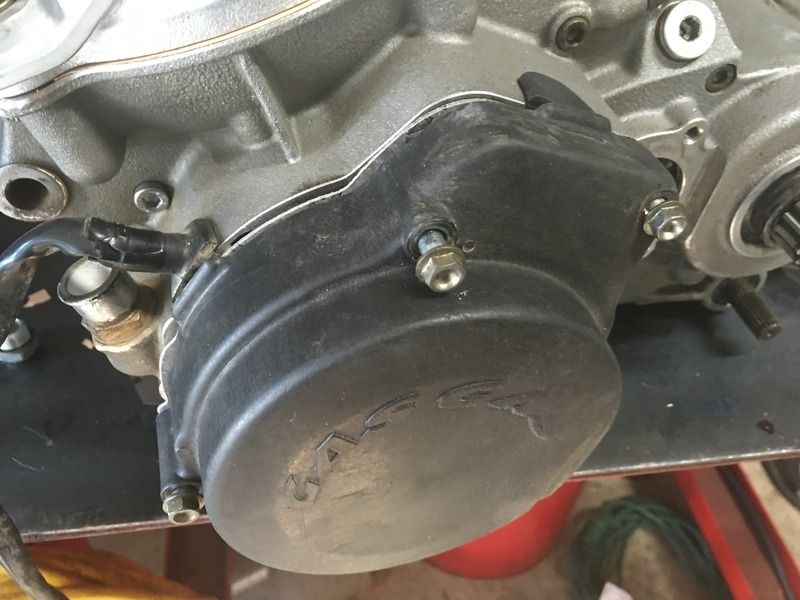 New exhaust gasket and O-Rings: 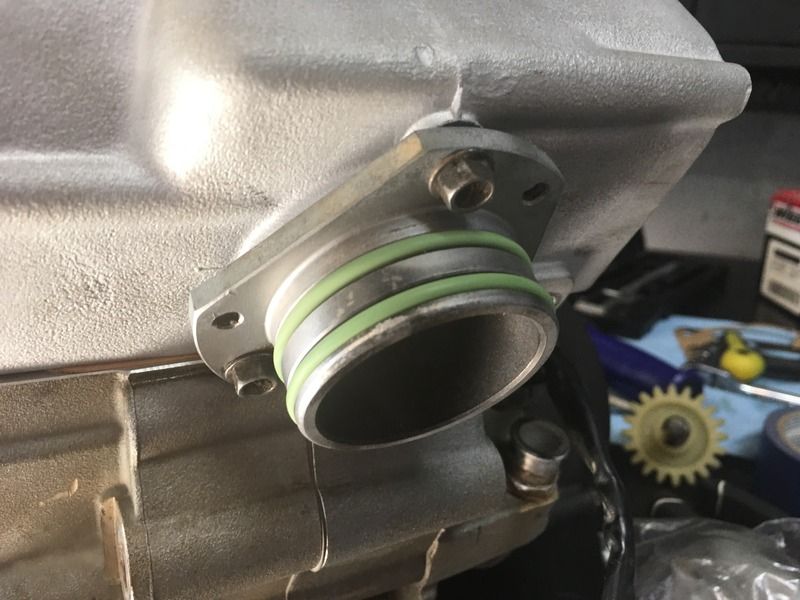 Right Side cover back on: 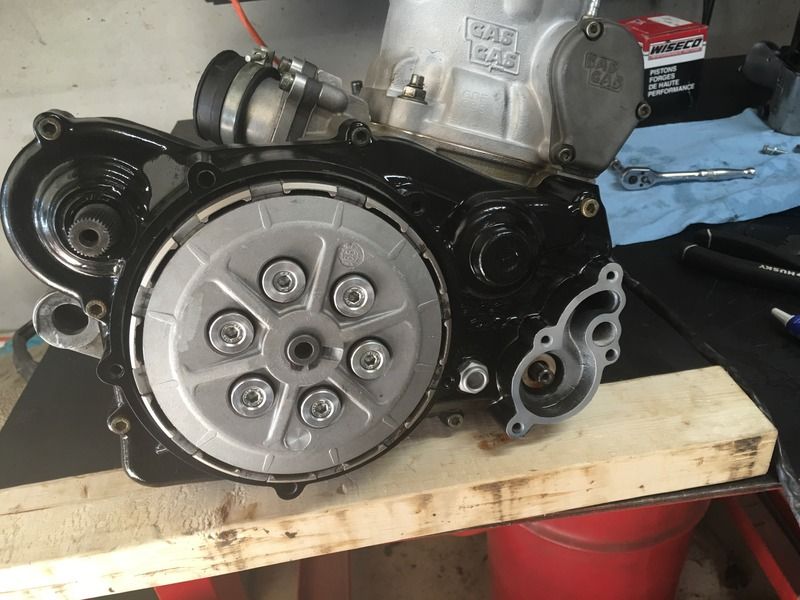 Clutch cover was blasted and clear coated: 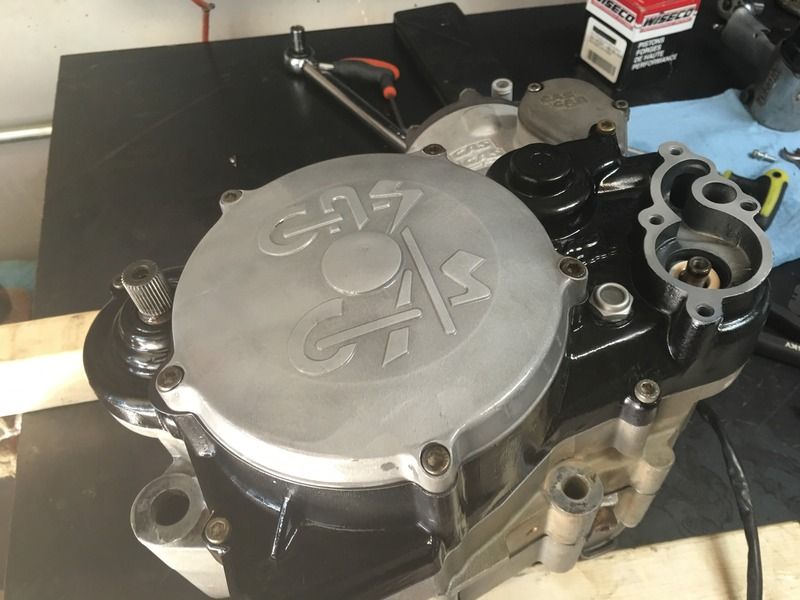 Water pump seal: (OOPS IT IS IN UPSIDE DOWN) 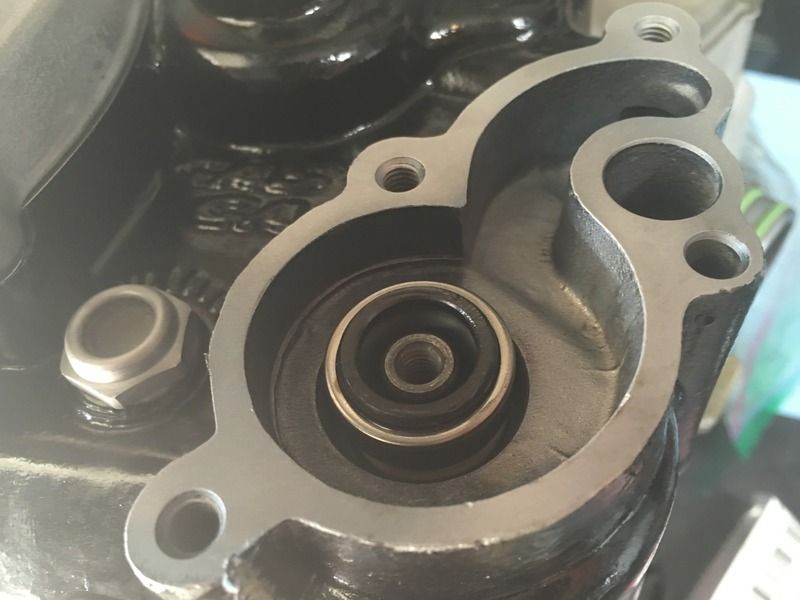 New Ultra Impeller from Checkpoint: 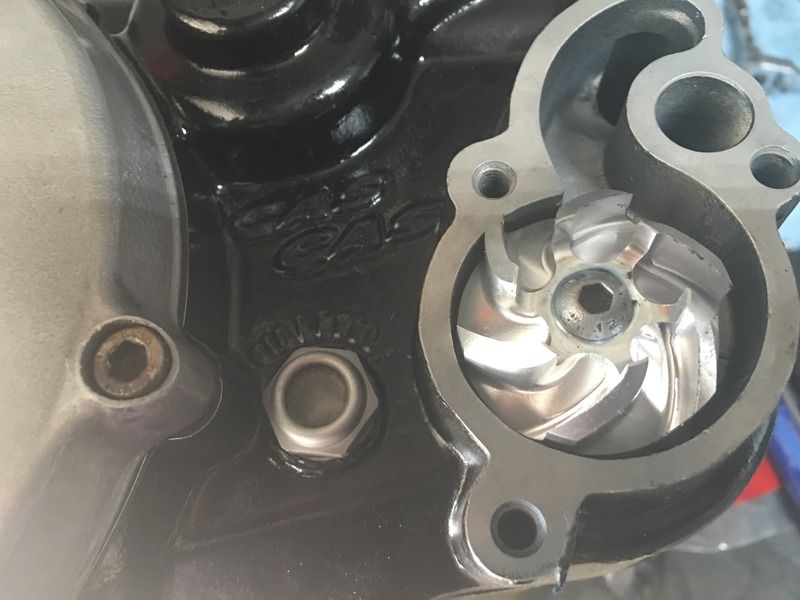 It needs about 1mm removed to fit inside the water pump cover: It hits in a couple places. I need to chuck it up and take a little off. 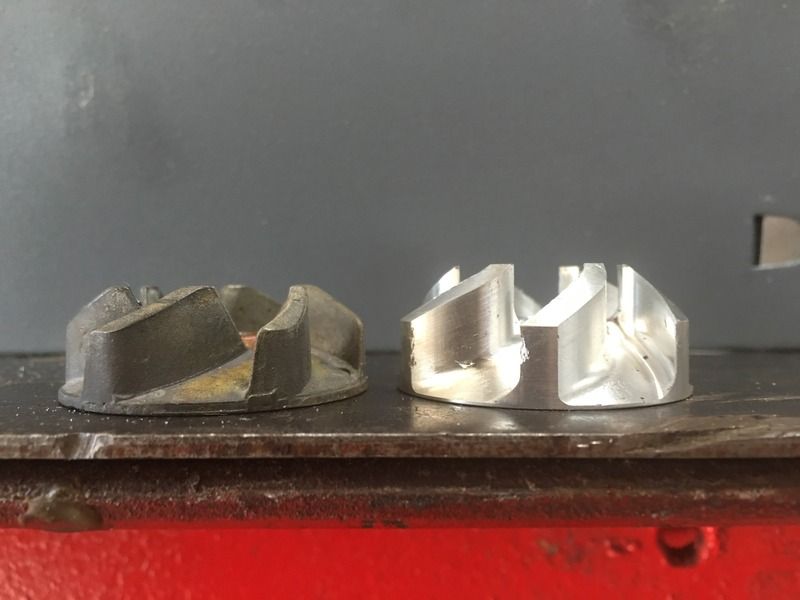
Last edited by RockefellerGG; 05-14-2016 at 06:21 PM. |
|
#85
|
|||
|
|||
|
|
|
#86
|
|||
|
|||
|
I'm having trouble getting the kick arm to return. I'll pull the case again and see what's up.
|
|
#87
|
||||
|
||||
|
rewind the spring
__________________
EC250 2019 |
|
#88
|
|||
|
|||
|
Playing with it now. I added one more wrap of tension and it does the same thing.
It returns with the cover off. It returns with the cover placed on. As soon as I tighten the cover bolts, it binds. When I place the cover on a flat surface, I can slide a 0.07mm feeler gauge under the cover. Manual says max spec is 0.05mm. Would this be enough to bind it? |
|
#89
|
|||
|
|||
|
|
|
#90
|
|||
|
|||
|
I'm curious on your squish gap. You showed the outside edge measurement. What was the inside edge measurement?? If it's any thing like my 200 was it will be 1mm bigger yet.
|
 |
|
|
 Similar Threads
|
||||
| Thread | Thread Starter | Forum | Replies | Last Post |
| Complete 2002 ec300 rebuild/conversion | astout93v | General Discussions & Announcements | 1 | 12-07-2014 12:58 PM |
| S3 Race Custom Modified EC250 Complete Rebuild | Jakobi | Enduro Engine - 2 stroke | 173 | 06-23-2014 03:12 AM |
| 2011 ec250 engine complete 70hrs | roverhybrids | Parts | 3 | 01-16-2014 08:20 PM |