
|
|
#161
 08-16-2012, 02:34 PM
|
|||
|
|||
|
Quote:
Quote:
I had seen the recess but I did not quite understood its need until Leo mentioned how he bleeded his cart because both of my carts are bleeding oil by the orings. Again, I'm not sure of this but I think no oil should be allowed to pass through the PFP o-rings because this will affect the desired preload . Bad PFP o-rings is the only explanation I can think off to having some forks with different preloads, assuming they were serviced with the same amount of oil . Any ideas ? Next time I will also dismantle the PFP to take some metrics and do some math related to the max preload it takes.
__________________
Vindicator '11 EC 300R 
|

|
#162
08-16-2012, 03:05 PM
|
||||
|
||||
|
Well, I hope do do mine tonight if I can get to the shop for oil. What I don't understand yet is how it is possible for the PFP piston to top out and stop the damper rod travel before the excess oil and any air is vented by the tapered shaft recess/center PFP seal? It cant be hitting the comp piston. I'll measure the comp assembly more before putting it together. Maybe I just didn't force it hard enough. A caliper will tell the story.
Yes the lower outer oring should seal, period. The only oil in that area should come from the center seal/recess, or maybe some outer chamber oil that is splashed in during use. Note that the 5mm holes in the cartridge are NOT in the PFP piston bore (just above it, on the edge), and will vent any pressure over the lower PFP oring. The upper oring will constantly engage/disengage the PFP bore, so if there is a burr I can see it damaging the upper ring, and lower ring on assembly. I suspect that the small holes in the bushing land might allow oil to reach the bushing.
|
|
#163
08-16-2012, 03:43 PM
|
|||
|
|||
|
Quote:
Me too perhapas when one of these guys have finished pulling down then putting back together they will take a few minutes and write a step by step for us that are currently laying on the ground with a head spin 
__________________
Does this rag smell like chloroform?
|
|
#164
08-16-2012, 04:21 PM
|
|||
|
|||
|
When servicing the forks, I ordered both KYB and Yamaha bushings to compare
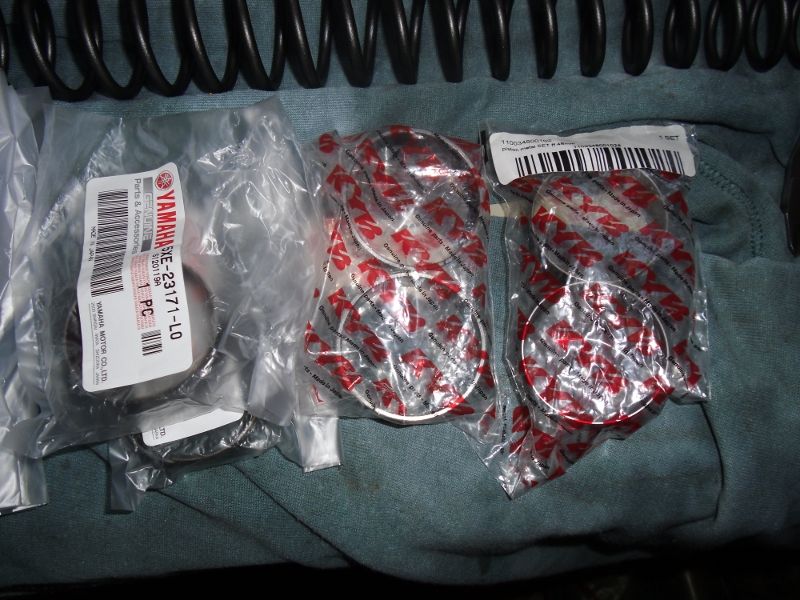 Bushings from left to right, OEM Marzocchi - Yamaha - Kayaba 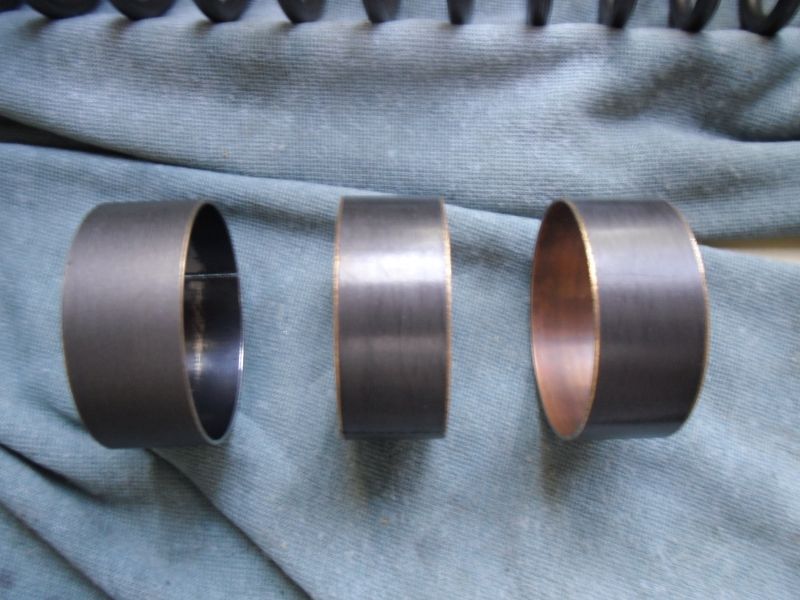 The Yamaha and KYB are exactly the same as far as coating and metal, if mixed in the same bag one could not tell it apart. The OEM is different but it seems to also have excellent coating. Completed the setup with these 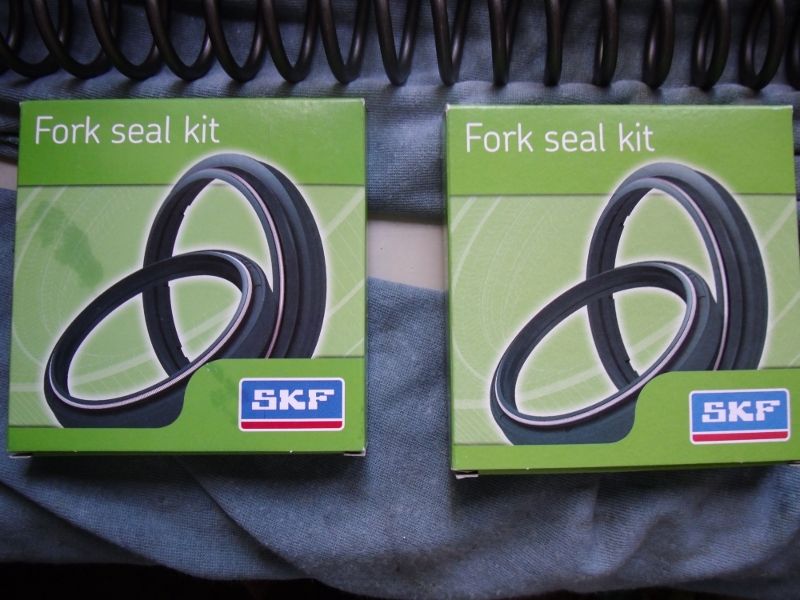 Here's the oil seal compared with the stock NOK 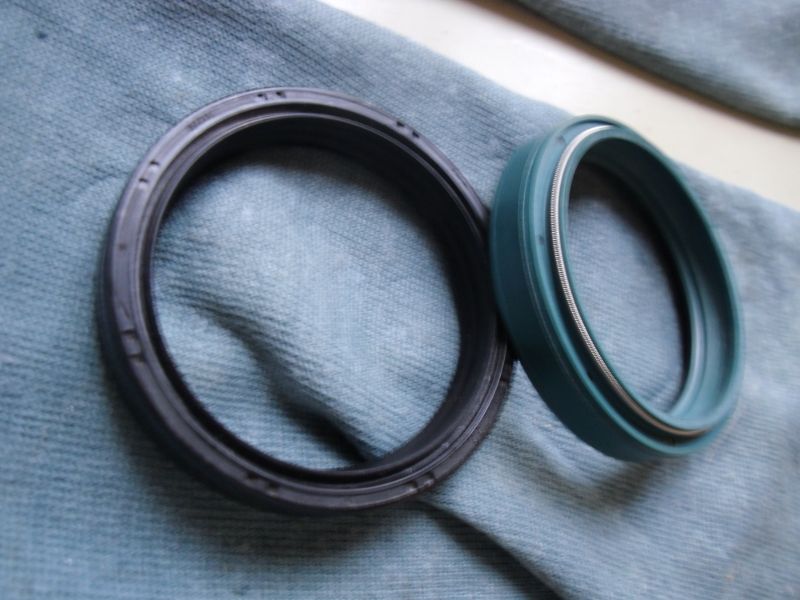 I ordered both the SKF reference for ZF Sachs (48x58x9) and the KYB (48x58x8,5) to compare, they fit like a glove. As you can see it's quite different from the oem, I ordered as being the low stiction model, let's see how long it will last.
__________________
Vindicator '11 EC 300R
|
|
#165
08-16-2012, 06:11 PM
|
||||
|
||||
|
Quote:
__________________
Steven Beane #275 PlusOnePerformance - Superior Service the World Over - Dearborn MI AMA District 14 (Michigan) Officer  afterhourscycle.com Michigan's Beta and TM Race Headquarters
|
|
#166
08-17-2012, 08:49 AM
|
||||
|
||||
|
I did mine successfully last night, and I'm confident its corrrect. Please be carefull with this stuff, think about how you retain it so you don't break something or slip and hurt yourself. It takes a little arm strength but certainly no straps!
 Filled cartridge with 210 - 215 cc, did a preliminary bleed by cycling the damper rod with the rebound clicker open. Adjusted oil level to 125 - 130mm with damper rod extended, and let sit for a half hour. No more oil or things wil be VERY difficult. Grease orings on comp/PFP assembly, oil on bushing. I dipped the comp piston in oil and shook it around to get some of the air from under and behind the shims out. Insert the assembly slowly into the cartridge. You will notice a huge distance from the bottom of the comp assembly cap to the cartridge cap when the the lower PFP oring engages the bore and resistance starts. This is mostly from a large slug of trapped air. Keep light to moderate pressure on the comp assembly, and slowly raise the damper rod with your other hand. While doing this, wiggle the comp assembly side to side slightly. You will hear a short hiss as air escapes between the lower oring and PFP bore in the cartridge. The idea is to keep the lower PFP oring right at the very edge of the bore, and increase the pressure by raising the rod. Its important to maintain pressure on the assembly so it does not draw any air in. Once you hear air escape the PFP oring will seal, so lower the damper rod while keeping pressure on the assembly. Repeat, it should take two or three cycles before no more air is able to be purged. Now notice how much closer the assembly cap is to the cartridge because most(not all) of the air is gone. Now compress the PFP spring and use your cap tool to start the threads. What I found to be easiest and safest is to hold the cartridge in the vise using a 45mm seal driver as a guide, with a piece of polyethelene under it(you could cut a milk jug too). This is slick especially with oil and allows you to just compress and hold the cap in position, while turning the cartridge body from the bottom with your other hand. That way you do not have to release pressure and regrip the tool after a partial turn and wonder if you got the threads started. Snug the comp assembly down. Put a rag on the bench to protect the rebound adjuster body/threads. Compress the cartridge slowly, you should have full travel and it should extend completely. Each cartridge will likely extend at different rates, and the PFP will be at different positions when viewed through the 5mm holes. Do this several times, adjust the comp and rebound clickers to 2 clicks out from full hard, and do several times more. This will purge oil through the shim stacks and any small bubbles out. Open the clickers and let the cartrides sit for a few minutes. At this time all seems well but its not, there is a lot of air and excess oil to purge. You will notice that it does not purge through the PFP shaft recess at full compression. Why? I beleive its because you are fighting stiction of the PFP piston and orings, you are losing PFP travel from this while the trapped air is compressing, and the inner seal cannot reach the shaft recess. What you must do to get around this is compress the cartridge RAPIDLY, as fast as you can until it bottoms. Transient force overcomes stiction(think impact tools). When you do this fast enough you will hear a gurgle from the top as the PFP clears the shaft recess and vents. Do this several times until it no longer vents, mine vented twice. Dump the few cc of purged oil from the top of the cartridge through the holes. Now, both cartridges should acheive full travel at the same force and extend at or very close to the same rate. Looking through the 5mm holes, the top edge of the upper PFP o-ring groove should just be visible at the bottom of the hole when the cartridge is fully compressed. Now your done, each cartridge has the same amount of oil and no trapped air. So, you guys that are drastically overfilling and hoping to purge it out are killing yourselves for nothing. It should not be and is not that hard when done as described. The 210 - 215cc range is just enough to allow a purge as described. But, just filling with 210cc and closing it up is no good either. It may purge by itself while riding but I'm not sure if you can or want to bottom it that hard. Back together it feels really nice with the bounce test, increased rebound is evident, and I suspect it will be more compliant with the correct cartridge pressure and valving tweaks. Hope to get another part I'm waiting on so I can ride it and report.
|
|
#167
08-18-2012, 12:36 PM
|
|||
|
|||
|
Quote:
This thread also made me realize how important it is to service any suspension after the initial break in. If nothing else at least to change the oil.
__________________
Vindicator '11 EC 300R
|
|
#168
08-21-2012, 10:23 AM
|
|||
|
|||
|
So without reading the entire thread, what are you guys using for replacement springs? I was told YZ250 springs last night when I bought the bike. I am not opposed to going that route, just wondering if anyone had any other suggestions.
|
|
#169
08-21-2012, 10:30 AM
|
||||
|
||||
|
Quote:
__________________
Steven Beane #275 PlusOnePerformance - Superior Service the World Over - Dearborn MI AMA District 14 (Michigan) Officer afterhourscycle.com Michigan's Beta and TM Race Headquarters
|
|
#170
08-21-2012, 10:40 AM
|
|||
|
|||
|
Awesome. I think you told me that last night but I was too excited and trying to fight off the cold that I am suffering with now to remember.
I have a rear spring to put on, now to get fronts. I will probably race it as-is this weekend and deal with the suspension in the next week or two.
|
 |

|
|
 Similar Threads
|
||||
| Thread | Thread Starter | Forum | Replies | Last Post |
| new 48mm Marzocchi forks?? | Dave A | Enduro Suspension | 19 | 11-04-2011 07:48 PM |
| 2004 ec250 ohlins forks, 46 or 48mm? | Mikeythefokker | Enduro Suspension | 1 | 04-27-2011 10:39 PM |
| WP s or marzocchi forks | Stoby | Enduro Suspension | 2 | 08-19-2010 07:16 PM |


 Linear Mode

