


By Matt Roessle
Reference Pictures:
Here are some reference pictures to show the different components. The service procedure will be discussed next.
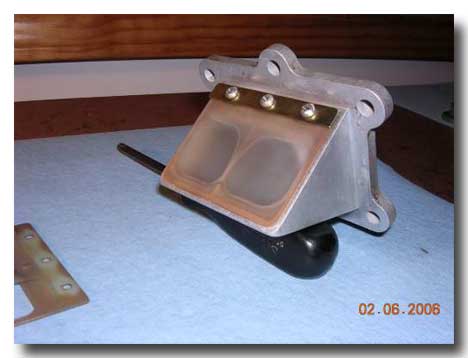
Photo 1 : Reed Valve after removal from bike.
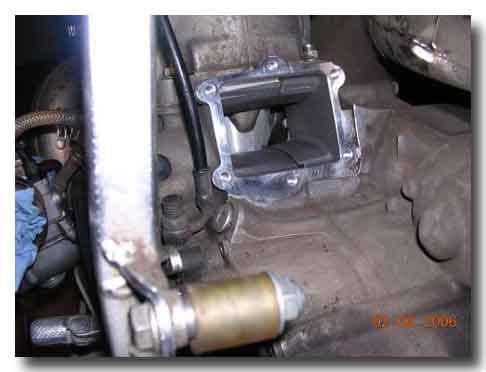
Photo 2 : Close up view of the reed valve interface on engine. Please note that all gasket residue should be removed.
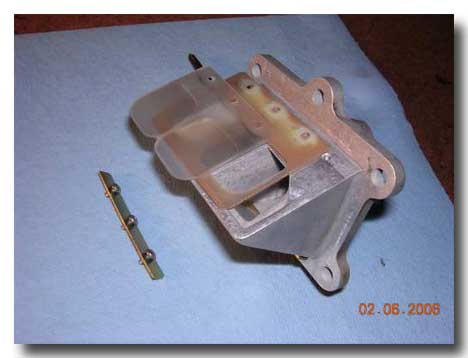
Photo 3 : Disassembly of the Reed Valve. Both sides are the same.
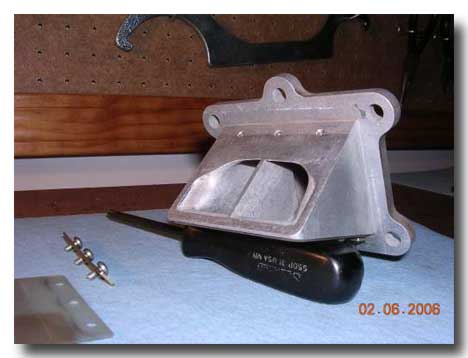
Photo 4 : Close up view of the Reed Valve body. Be sure to remove all gasket residue.
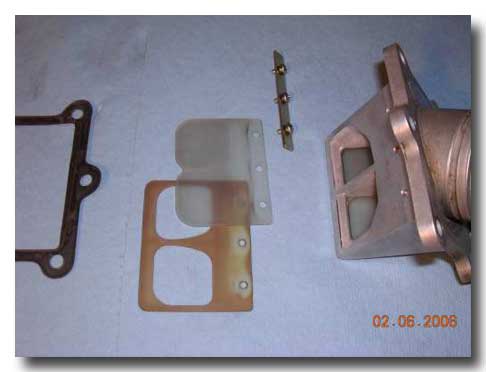
Photo 5 : Exploded view of the Reed Valve Assembly. The reeds had some slight deformation that prevented a good seal. They were all replaced.
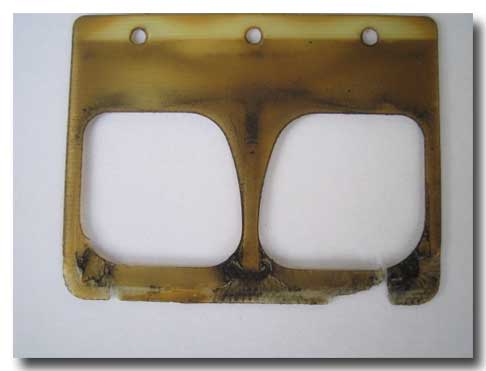
Photo 6 : Example of broken Reed Valve. (Courtesy of Land Rover).
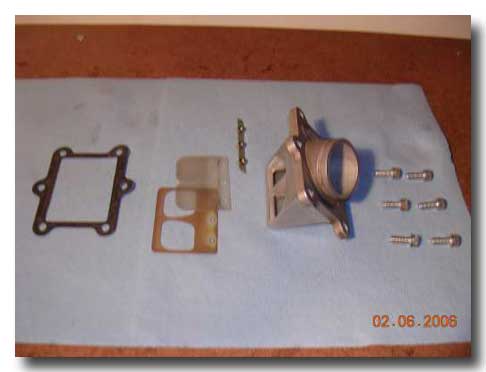
Photo 6 : Exploded view of Reed Valve Assy showing gasket and six allen bolts. Note : Allen bolts are shorter if the reed spacer is not used.
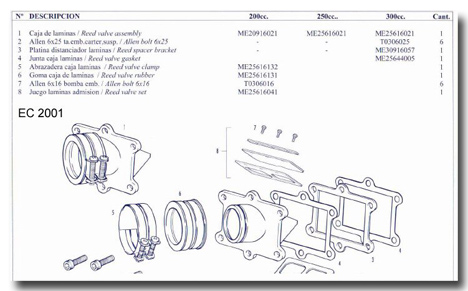
Photo 8 : Parts Diagram for the 2001 model year.
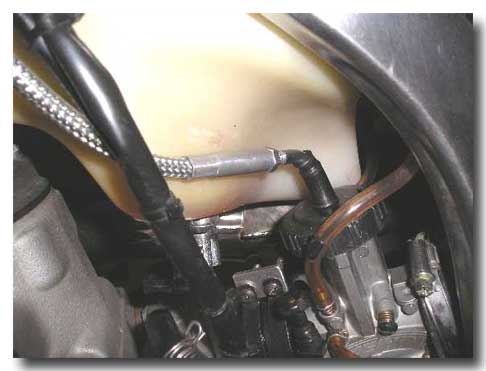
Photo 6 : Mounting Bracket by GMP solves mis-alignment and over-tightening issues. Note that LTR throttle cable screws into top of carb - if stock throttle cable is used it can be safety wired to prevent cable from pulling up out of adjuster.
Service Procedure:
- Remove the 6 allen bolts holding the reed valve to the engine.
- After pulling the reed valve off the bike
- Inspect the entire assembly for signs of damage to the reed valves (broken or frayed edges).
- Make sure the reeds are fully seated on the valve body and with each other. Replace any damaged or deformed reeds.
- Inspect the rubber manifold boot connecting the reed valve to the carburetor for any damage/cracking. I recommend just replacing this boot during service (cheap item).
- Inspect the air box boot for any damage/cracking.
- The DE/EC250's come stock with a single gasket between the engine and reed valve. The DE/EC300’s come stock with a spacer and 2 gaskets (each side of spacer).
- To disassemble the reed valve assembly, remove the 3 phillips screws holding the dual reeds to the valve body.
- Note: both sides of the reed valve have this same construction.
- Remove the metal strip that clamps the reed valves to the body.
- On Boyesen dual stage reed valves (shown here), the bottom reed valve is thicker with two cut-outs (orifices). The top reed valve is thinner with two pedals.
- Remove any gasket residue from the reed valve body, spacer (if applicable), and mating engine surface using a gasket scraper.
- Replace all reed valve gaskets that were removed from the bike with new ones (cheap items).
- During reassembly, use thread lock (blue) on the phillips screws holding the reed valves. Also, use thread lock (blue) on the allen bolts holding the reed valve assembly to the engine.
- Install the rubber manifold boot onto the reed valve.
- Note: be careful not to over-tighten the boot clamp.
- Insert the carburetor outlet into the manifold boot and tighten the second boot clamp.
- Note: be careful not to over-tighten the boot clamp.
- To help prevent over-tightening and misalignment, GMP developed a nice mounting bracket (see photo 9).
- A spacer/bracket is fabricated from aluminum. The 2 holes are drilled so that the center to center dimension is equal to the center to center dimension of the clamp bands (as measured on the BOTTOM since they flex on the top).
- Flat washers can be used to adjust the maximum clamping force.
- Connect the air box boot onto the carburetor inlet and tight the boot clamp.
- Note: make sure the air box boot is fully seated onto the inlet bell. This is difficult to do sometimes but have patience and it will get on there. Also, warming up the all rubber boots with a hair dryer can make them more flexible and help during reassembly.

copyright 2006 - gasgasrider.org