


By Matt Roessle
In May, I was on a great trip to the Hatfield-McCoy trails in West Virginia. During my first day of riding, I managed to break my subframe. No crash... just broke from fatigue of the material. I think it was damaged/cracked previously from a crash I had back in March. Anyways, I was really bummed and thought my trip was ended early. However, the "McGyver" in me managed to rig up a great fix that was very strong. This repair lasted several days in West Virginia. My bike was beat to death from their rocky hill climbs/descents, but this repair never failed. Actually, I rode the bike for several weeks after my trip until I got a new subframe.
Note: the following photos were taken when I installed my new subframe on 6/20/06. These photos were taken in stages to illustrate how the repair should be made. If you were wondering why the photos say June 2006 and not May as indicated in my story above... this is the reason why.
Photos 1 and 2 show the broken subframe. The fracture was the located on the lower left downtube (below the air box).
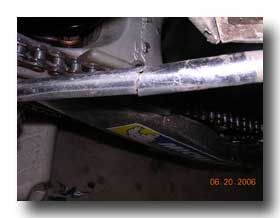
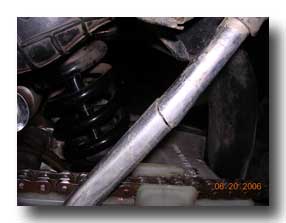
Photo 1 : Side View of Fracture Region
Photo 2 : Front View of Fracture Region
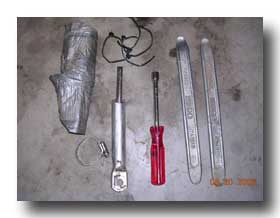
Photo 3: Here are all of the necessary items to make the repair. You will need duct tape, several zip-ties, 2 tire levers, 1 hose clamp, and a section of small diameter rod. Note: I cut the shaft off a socket driver for my repair.
Photo 3 : The Materials
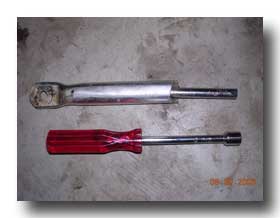
: Photo 4 shows a similar socket driver that was sacrificed for my repair. I cut of the handle and socket to get the solid shaft. Then, I inserted this into the broken subframe to act as a reinforcement peg.
Photo 4 :
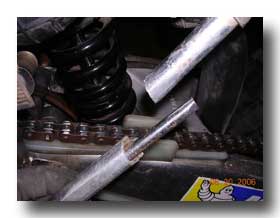
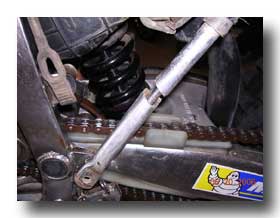
Photo 5
Photo 6
Photo 5 and photo 6 show the two subframe sections being readied for reassembly. Photo 5 shows the insertion of the shaft/rod in to one section. Photo 6 shows the attachment of the second section.
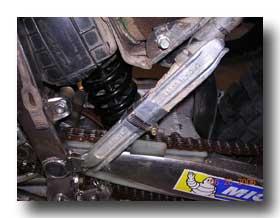
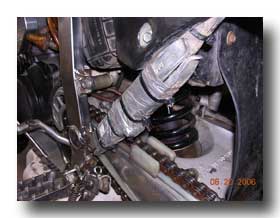
Photo 8
Photo 7
Next (photos 7 & 8), I took 2 tire levers and placed them on the outside of the subframe for lateral and vertical support. I wrapped some duct tape around the tire levers to hold them initially. Then, I placed a hose clamp in the middle of the repair area (right at the cracked zone).
Then, I used generous amounts of duct tape to wrap up the entire length of the tire levers. Since I had some wear issues initially on the tape from my boots, I ended up adding some zip-ties in several locations. The zip-ties worked really well and they provided additional "holding" strength on the tire levers.
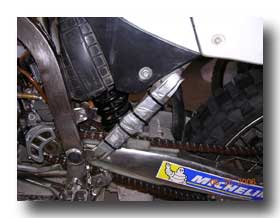
Photo 9 shows the repair, ready to ride!
Photo 9

copyright 2006 - gasgasrider.org